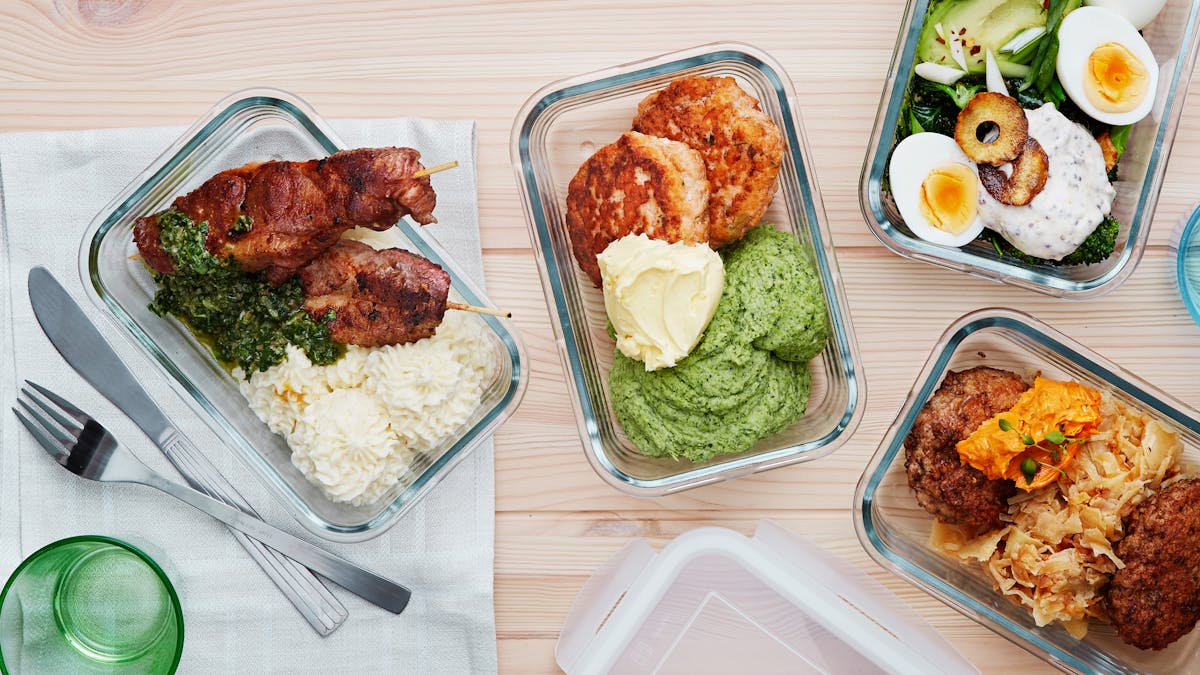
The best tips and recipes for low carb and keto freezer meal prep
Top 4 benefits of meal prepping
Adopting a batch cooking approach can be a lifesaver, especially when it comes to saving time. This is because you only cook once, but then have several healthy meals to eat for days following.
Here, we’ve listed the four main benefits of meal prepping:
- Saves time
- Keeps you on plan
- Reduces overall cooking costs
- Results in less food waste
Which low carb recipes work best for batch cooking?
Many of us have experienced what it’s like to freeze a food item … only to later realize it wasn’t exactly freezer-friendly.
Whether the dairy separates or the veggies become mushy, it’s disappointing to face a freezer flop when you were looking forward to a quick, healthy meal.
So what are the best types of meals and foods to freeze? We’re glad you asked! Here are some of our best tips for freezing breakfast, lunch, dinner, and dessert options.
Our top meal prep breakfast ideas
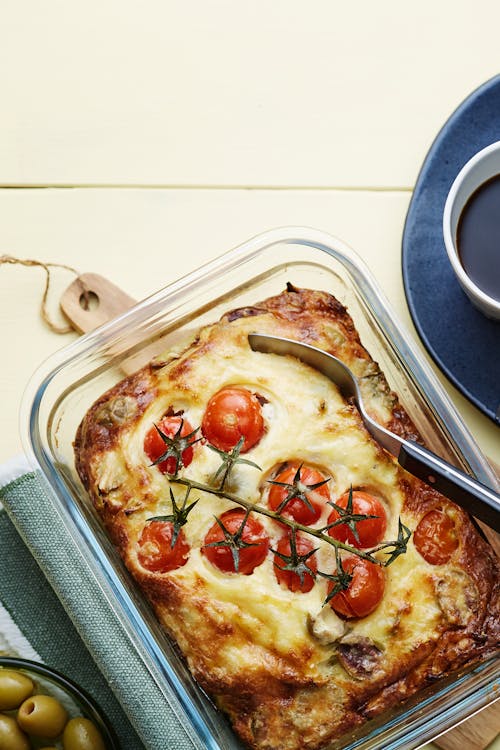
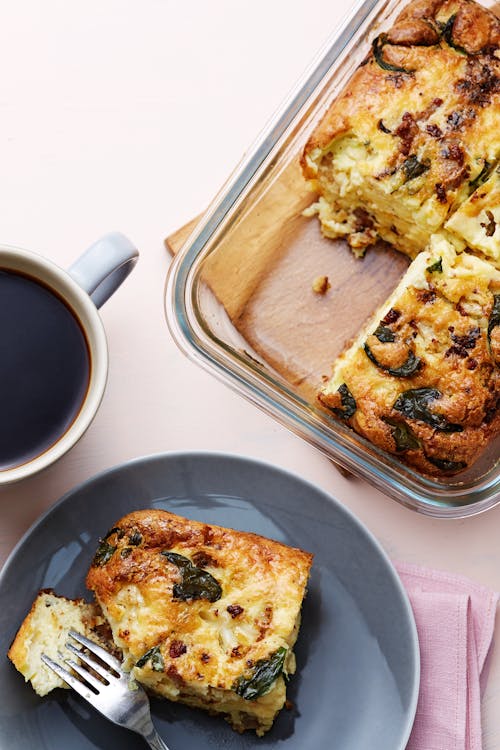
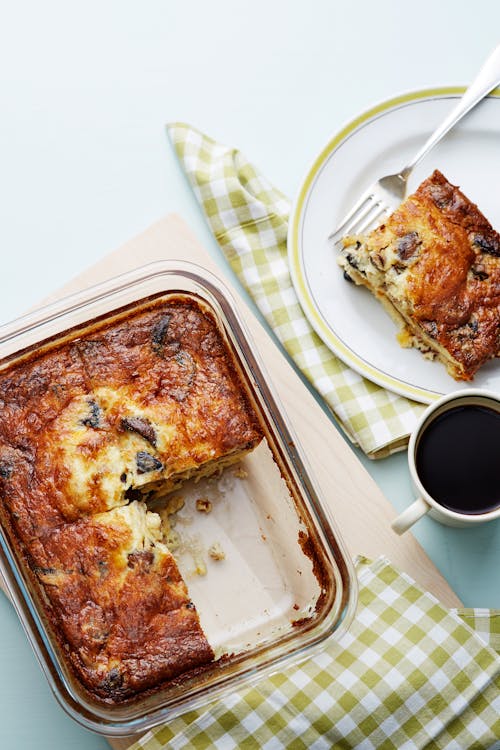
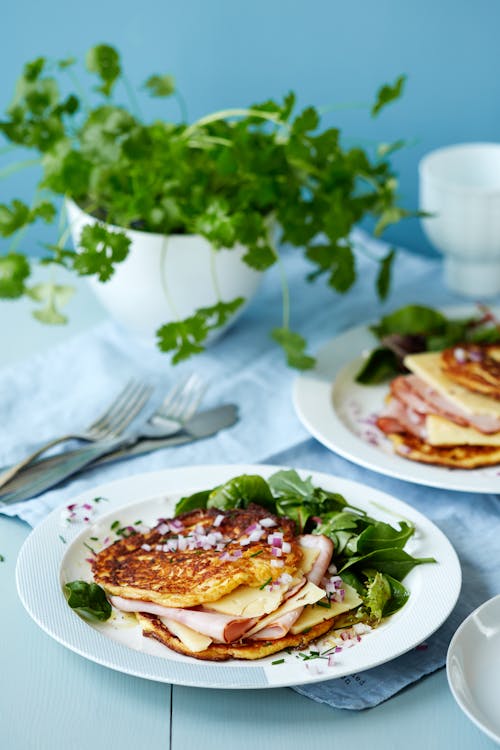
There aren’t many of us who have time for a leisurely breakfast, especially on weekdays. Breakfasts that can be prepared in advance and freeze well can be the ultimate solution to getting a balanced keto breakfast or low carb breakfast on the go.
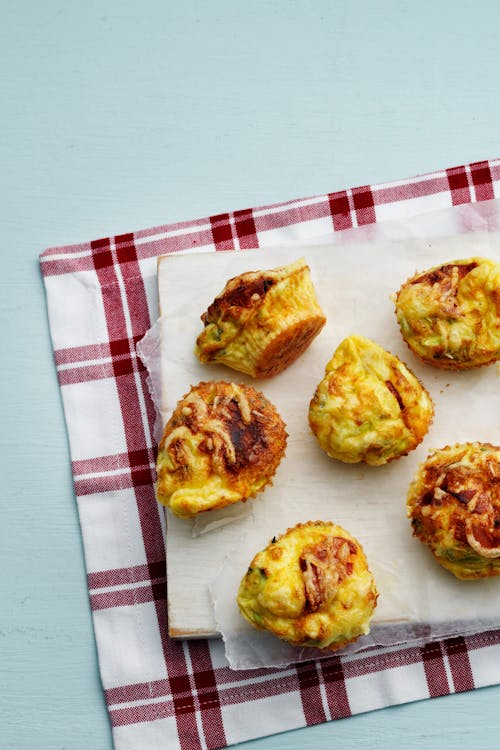
- Egg muffins
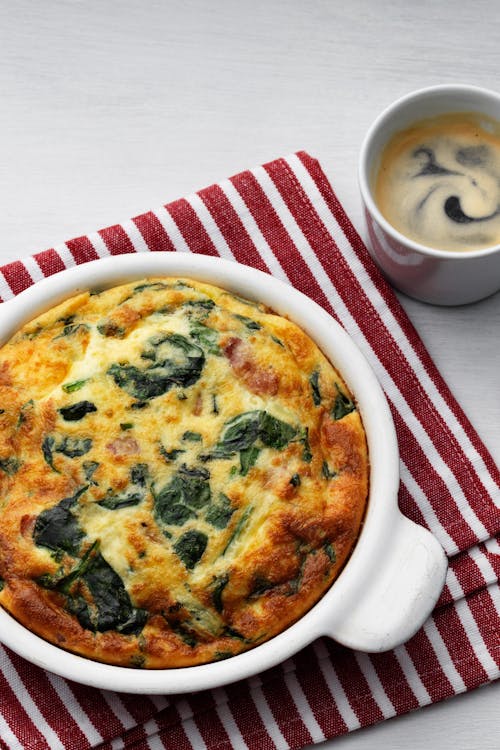
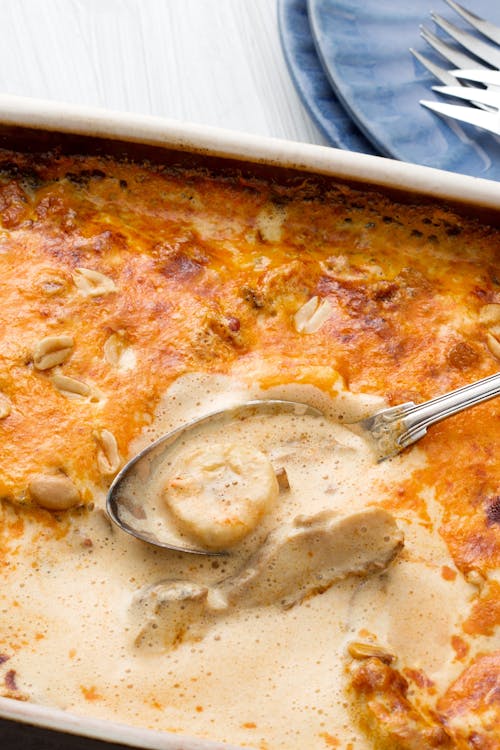
- Breakfast casseroles
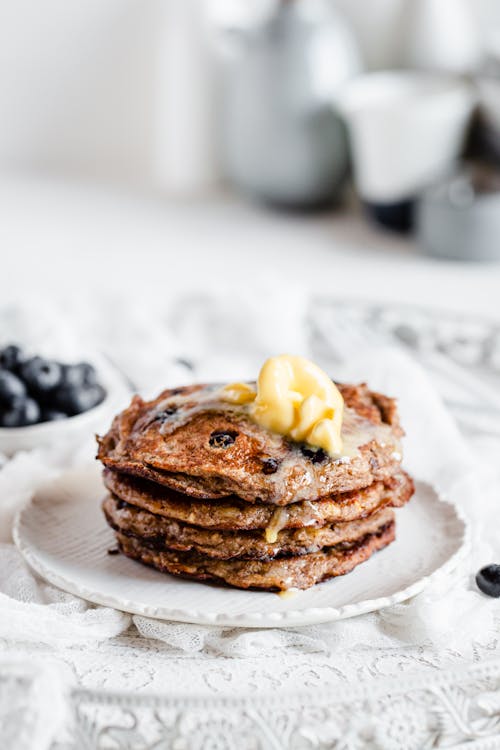
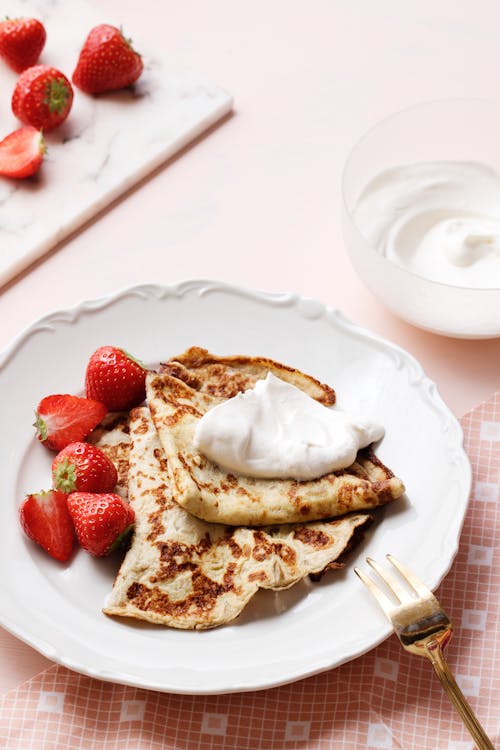
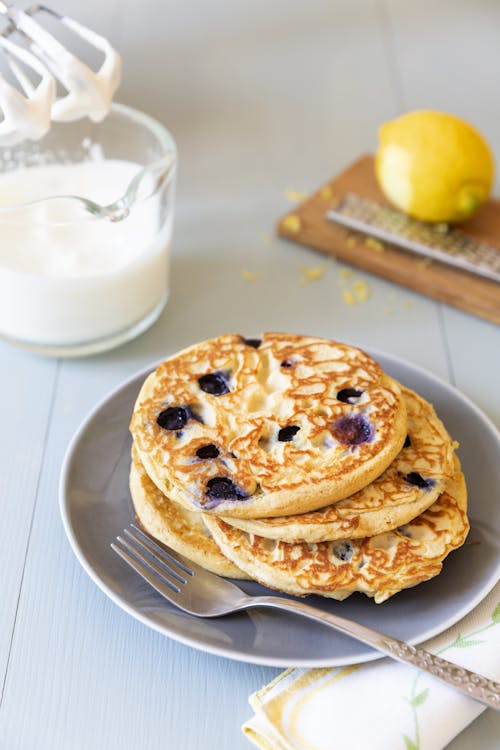
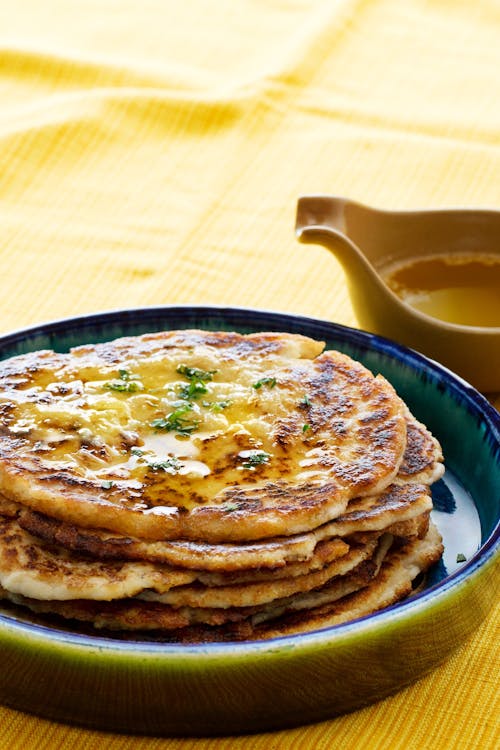
- Pancakes
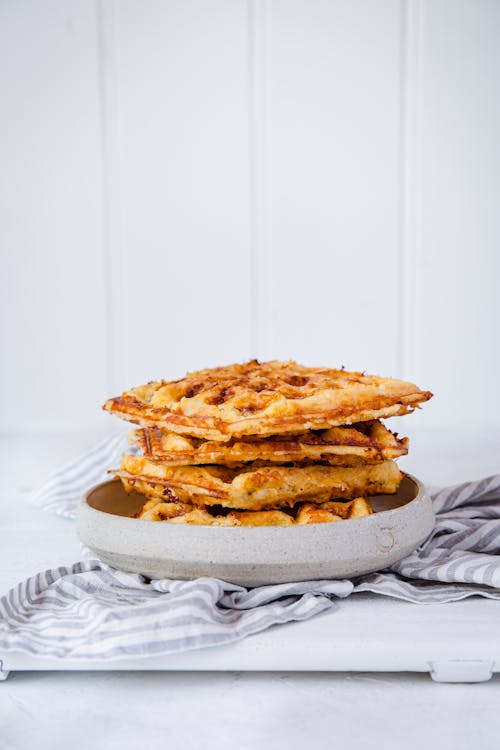
- Chaffles
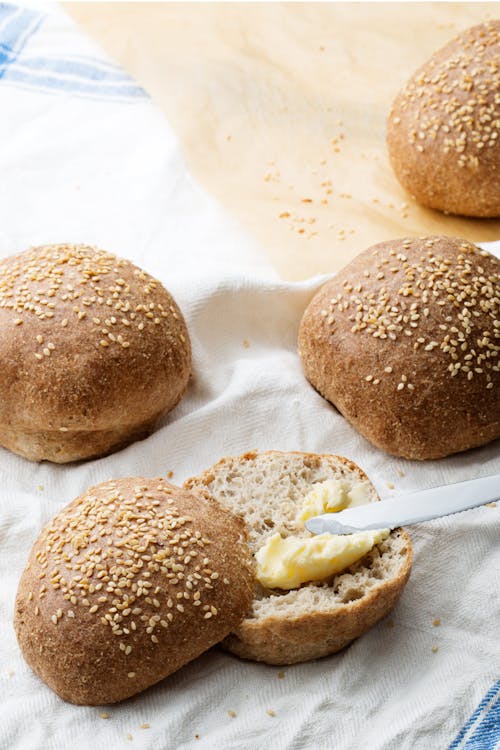
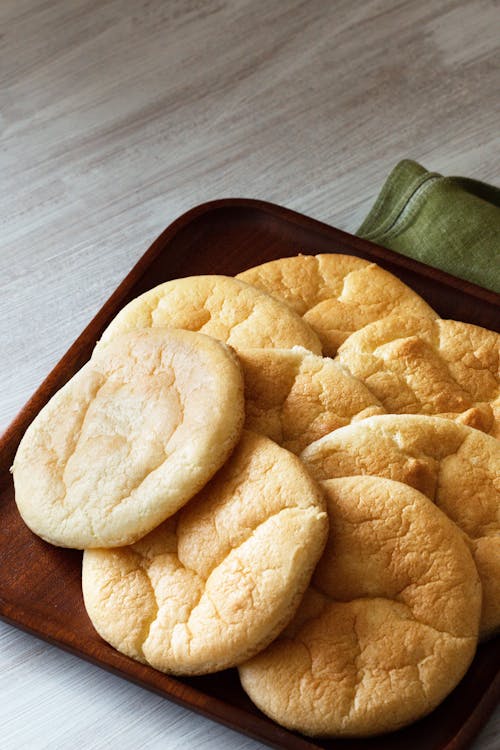
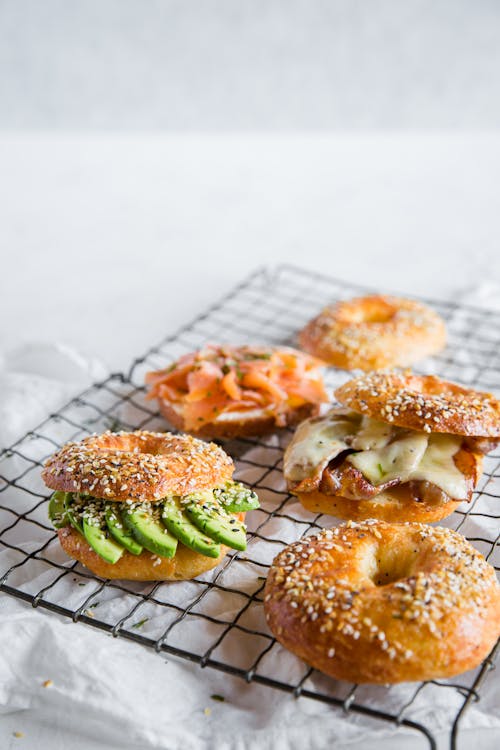
- Breads, such as cloud bread
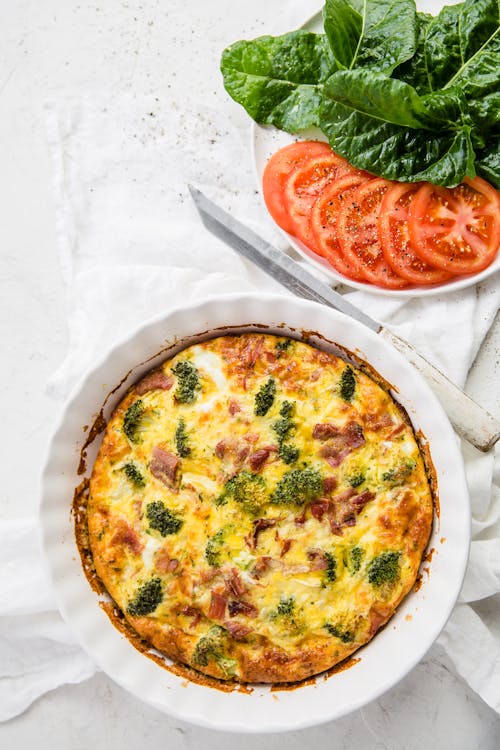
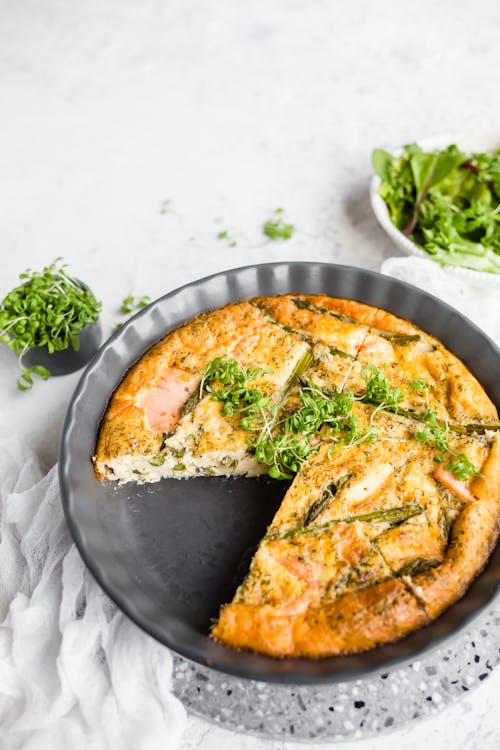
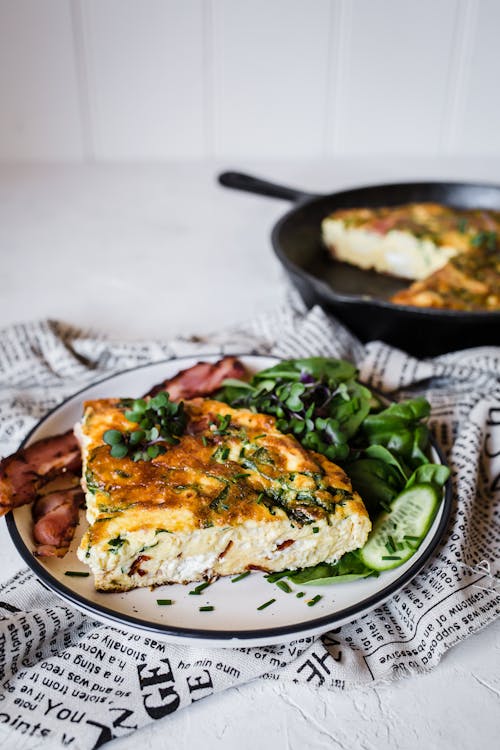
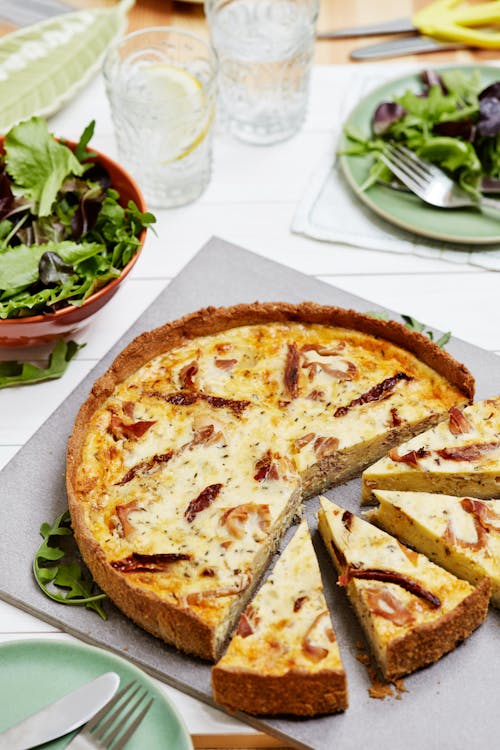
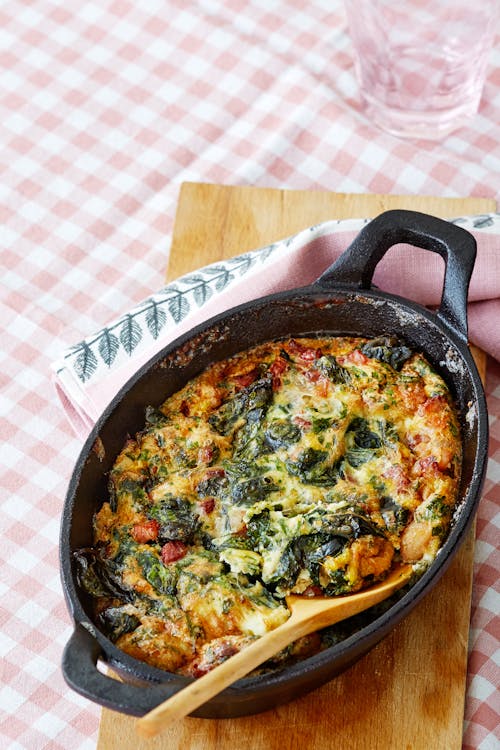
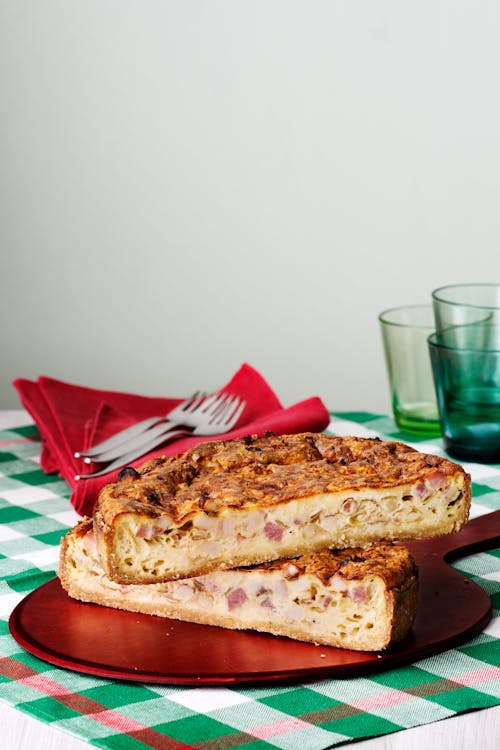
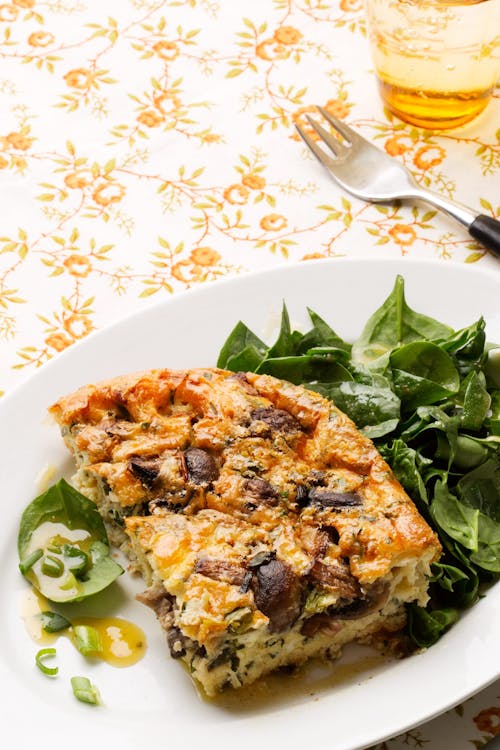
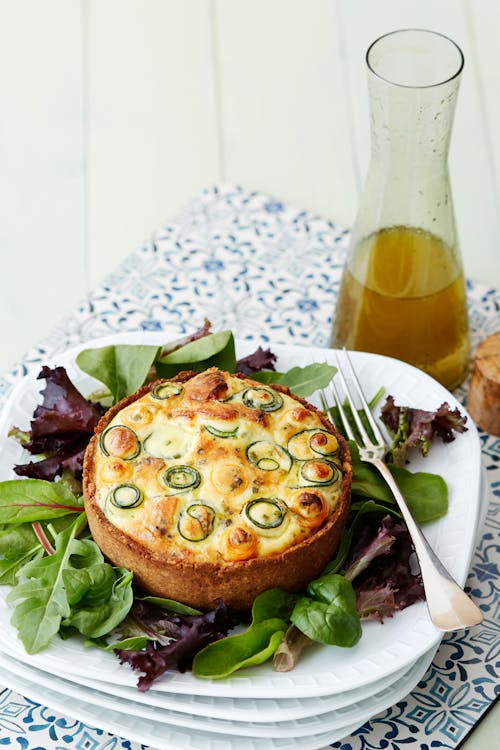
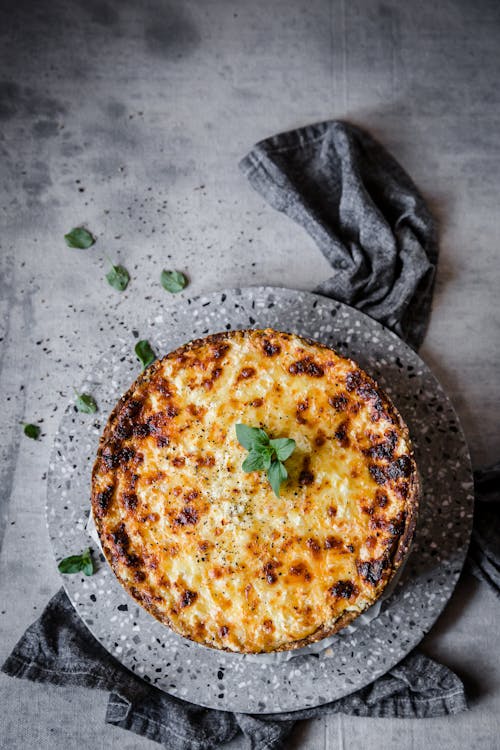
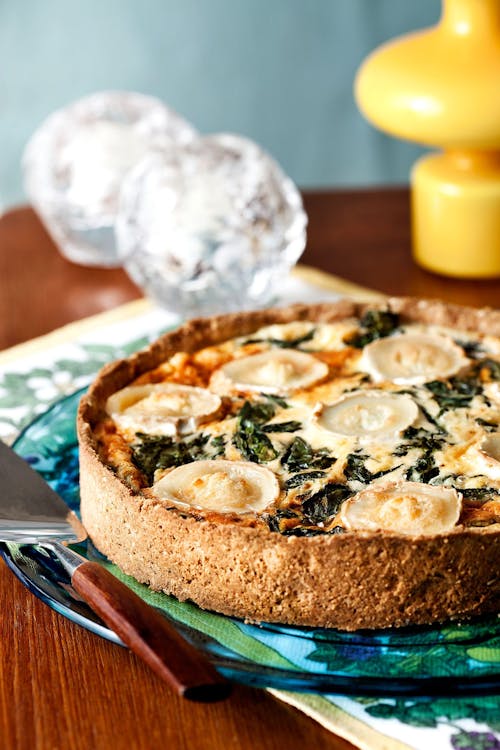
- Quiches and frittatas
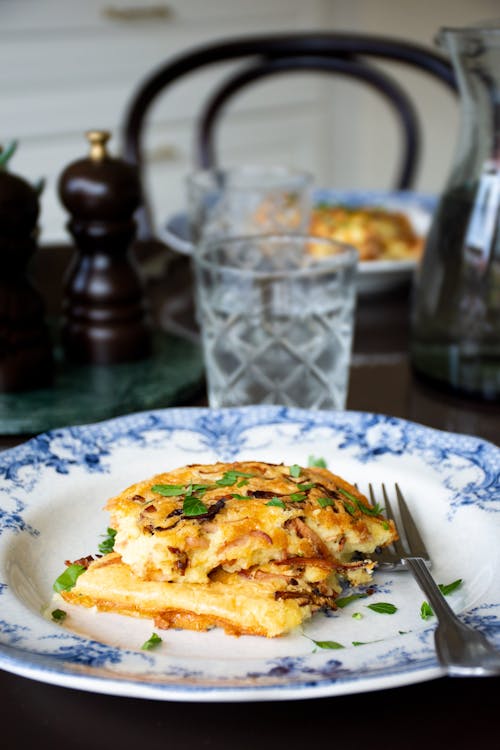
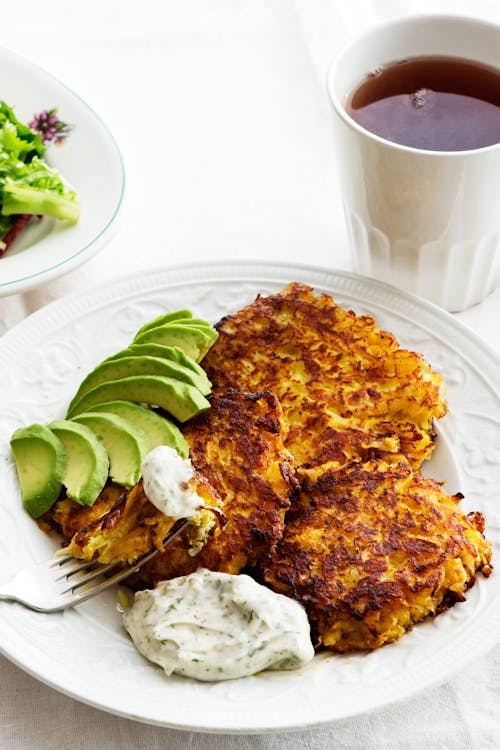
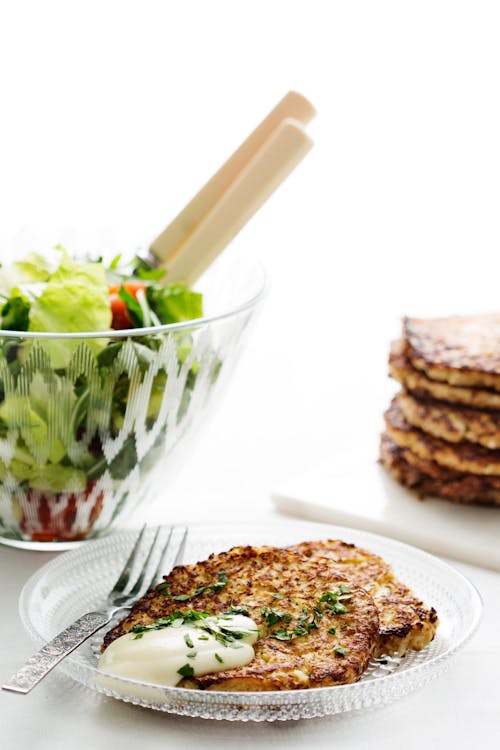
- Veggie hash browns and fritters
- If you’ll likely want to take your breakfast out of the fridge or freezer to eat at work, you may want to consider individual packaging or wrapping from when you store them to speed up the process. In the instance of an egg muffin, it would be useful to use a paper liner in the tin.
- If you plan on eating your breakfast at home, portions can just as easily be individually wrapped or stored in portion-sized containers.
Breakfast recipes
Top meal prep ideas for lunch and dinner
Lunch and dinner are often the most common meals that people feel they are short on time to prepare.
No worries! These suggestions freeze and reheat well:
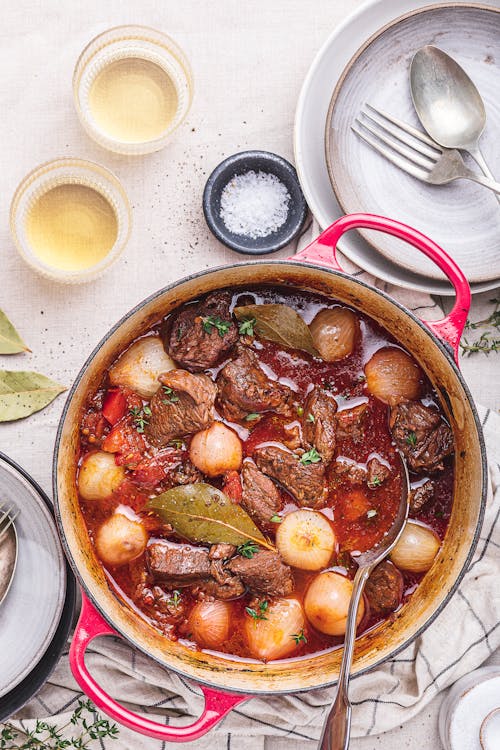
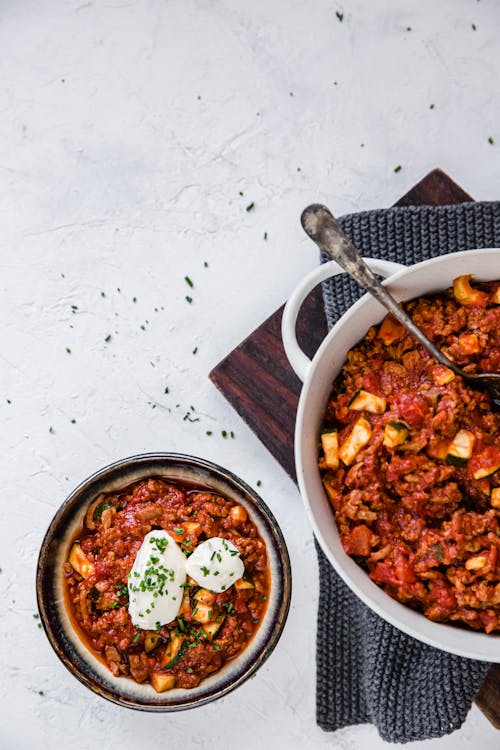
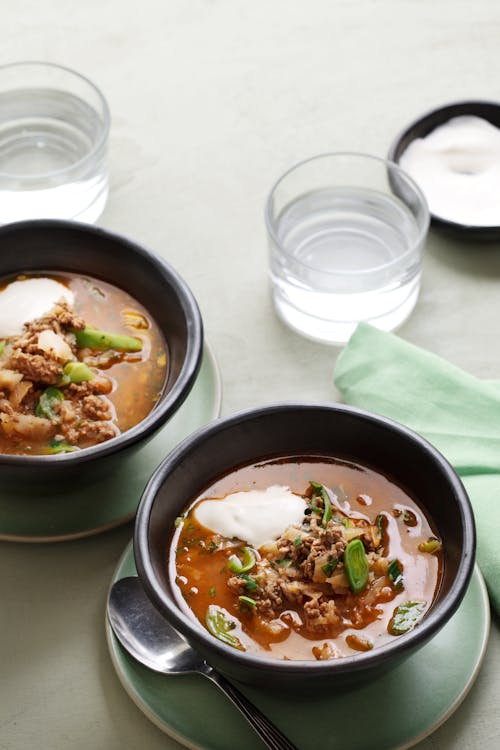
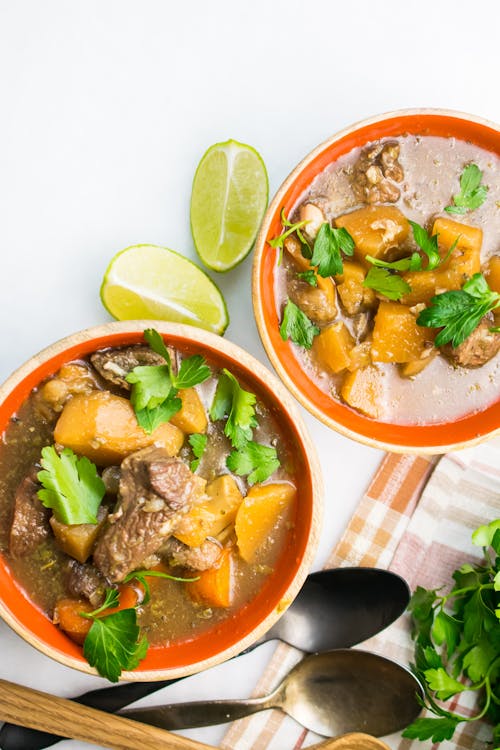
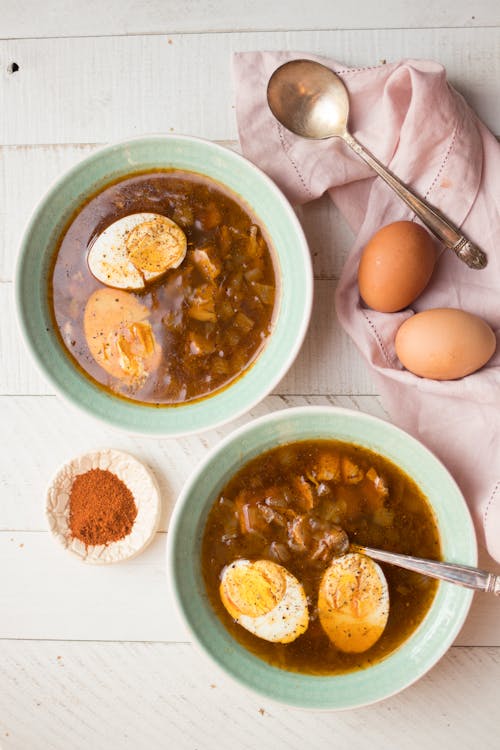
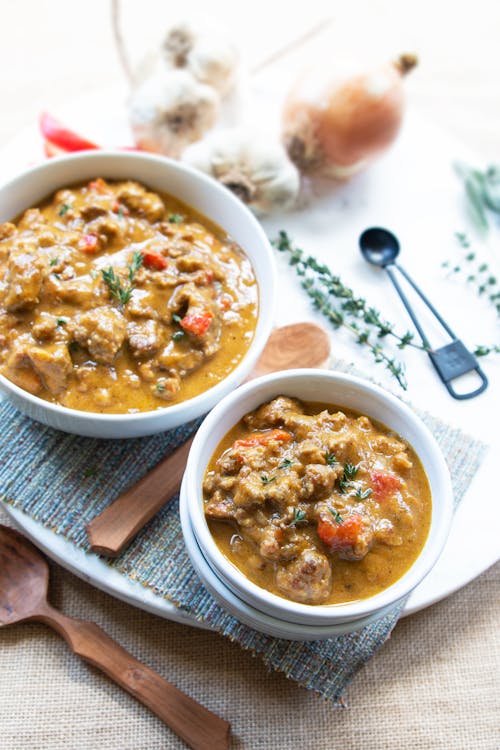
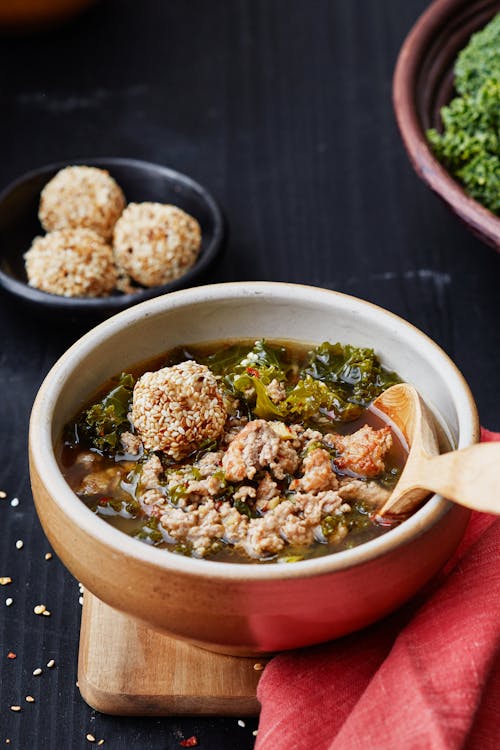
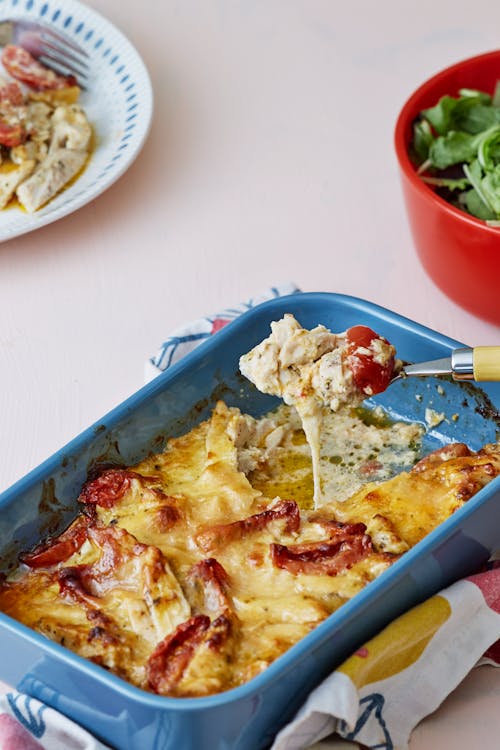
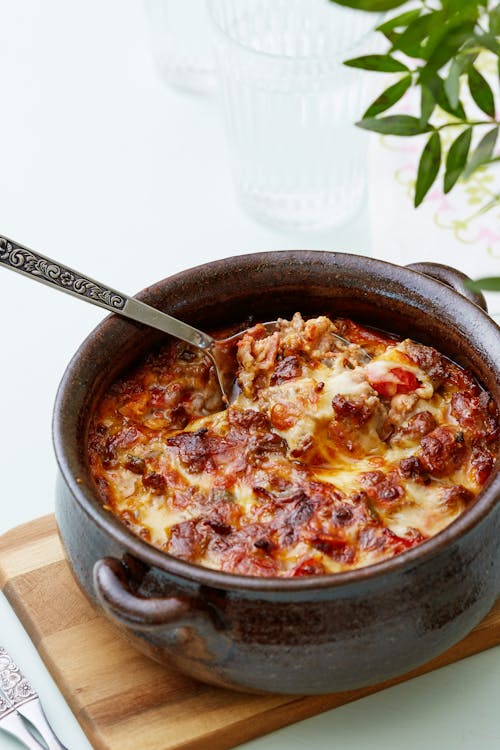
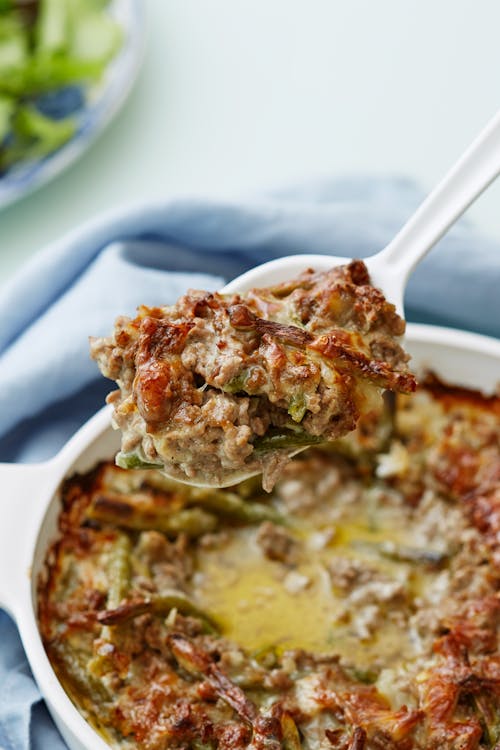
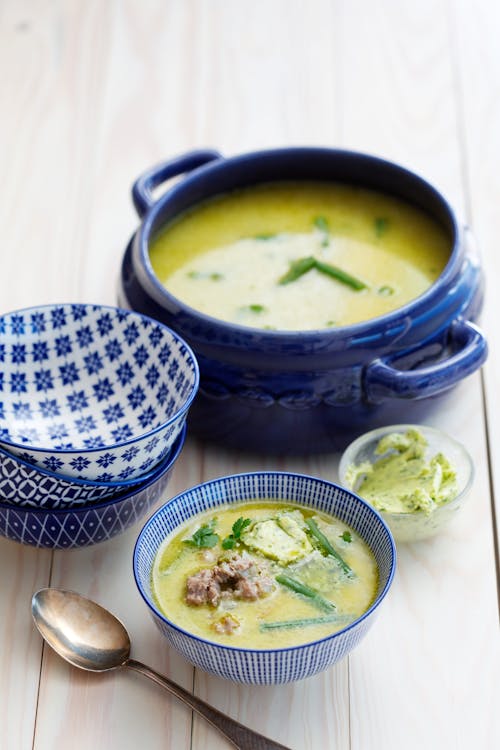
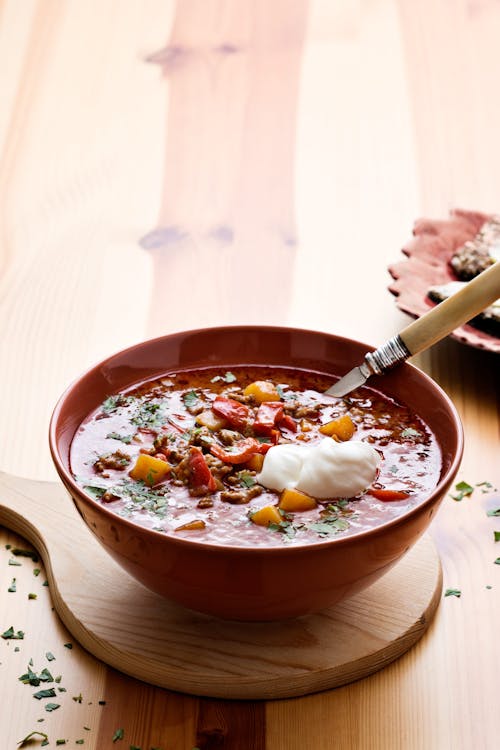
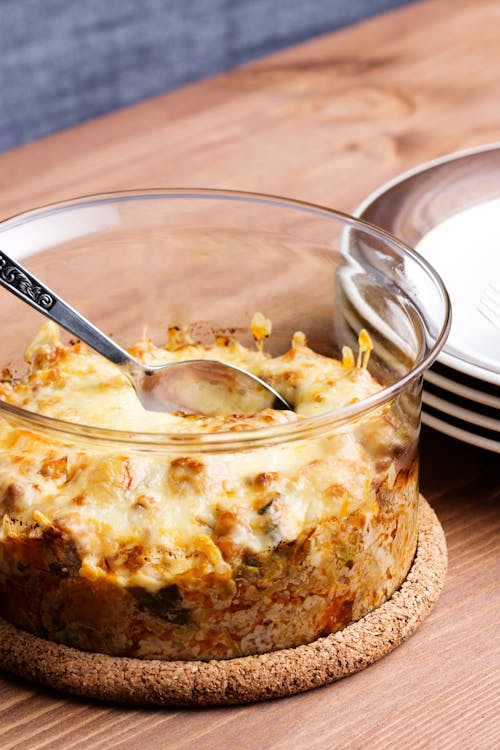
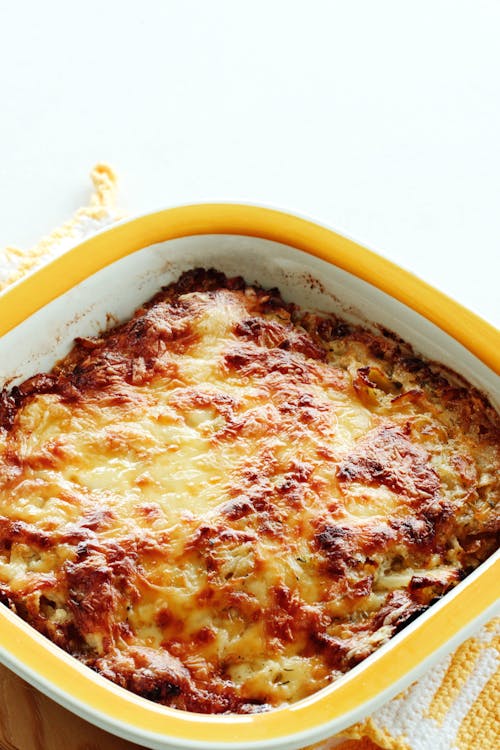
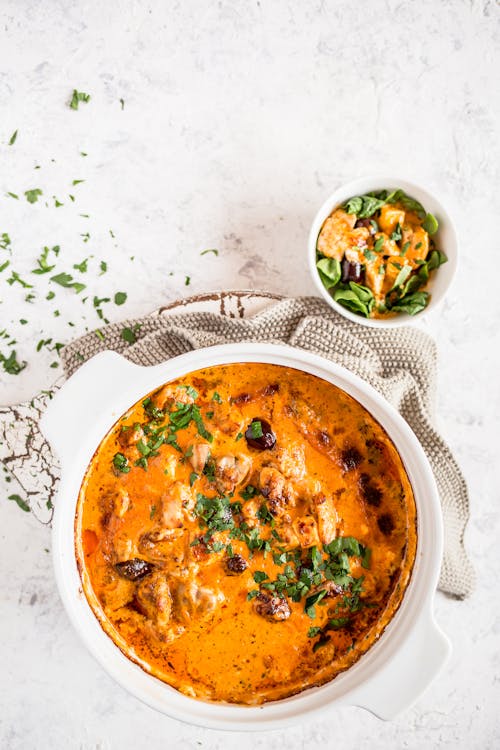
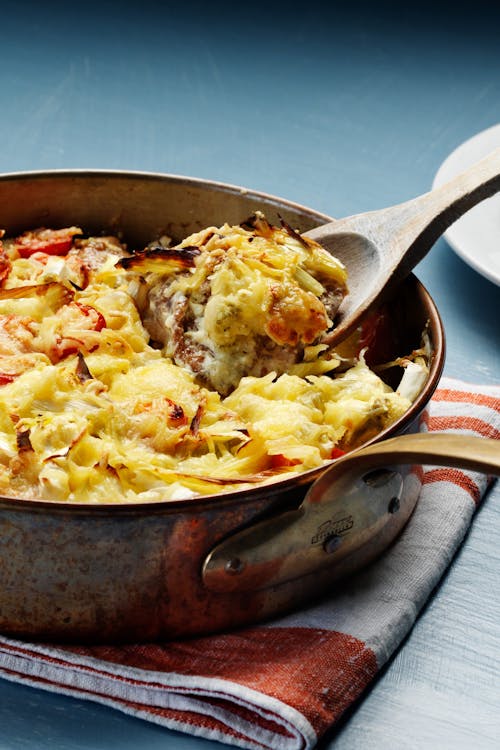
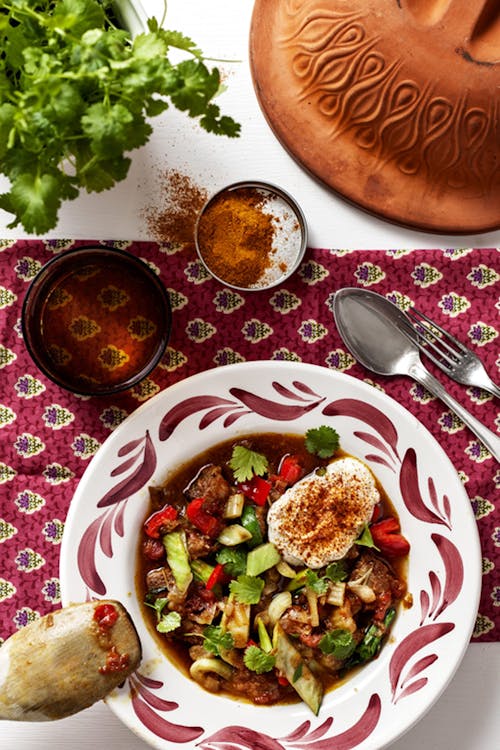
- Casseroles and stews
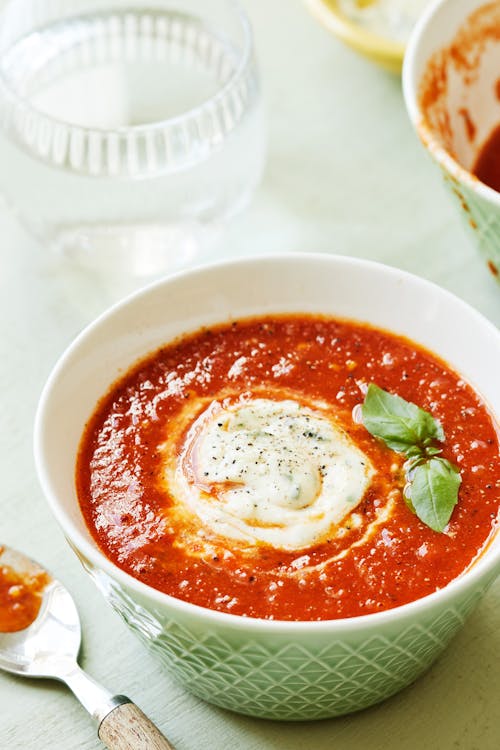
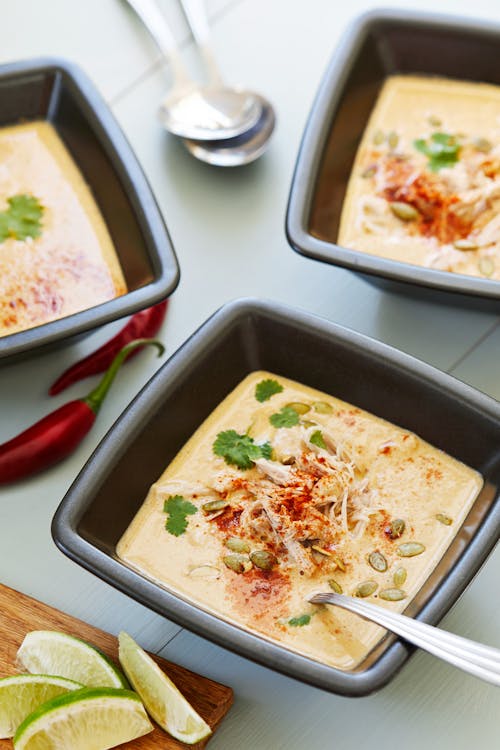
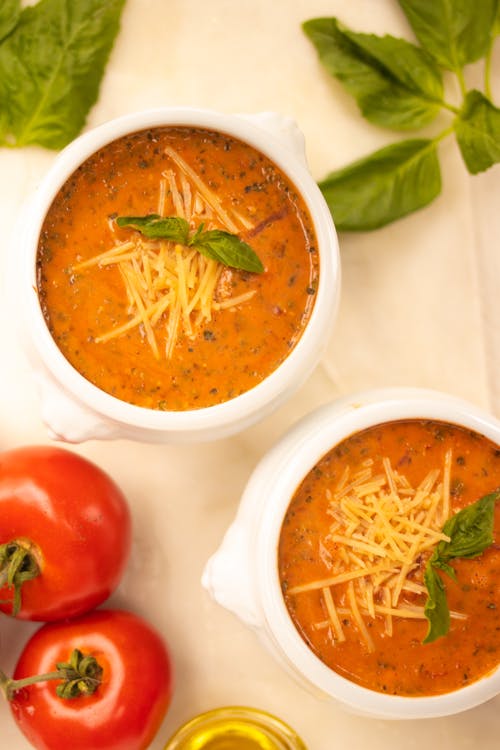
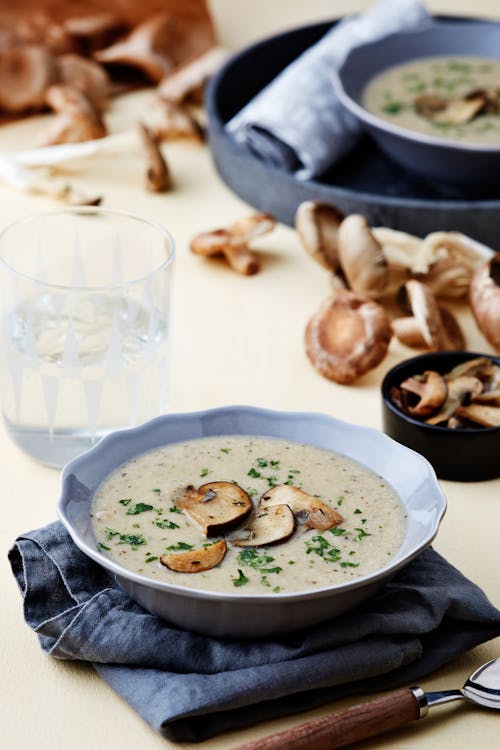
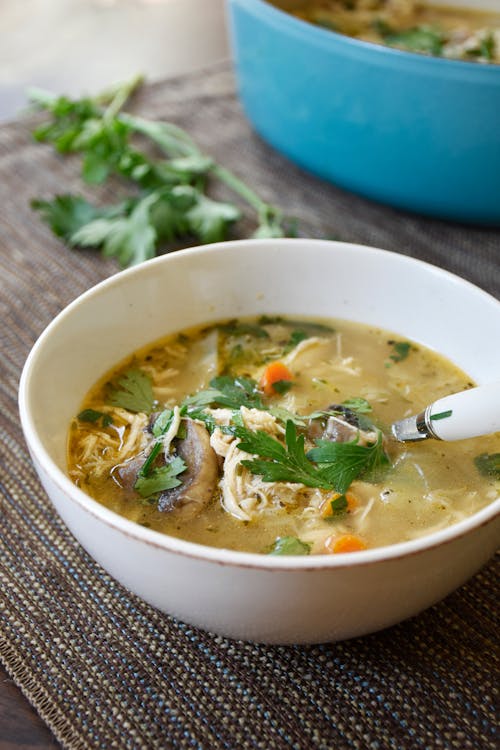
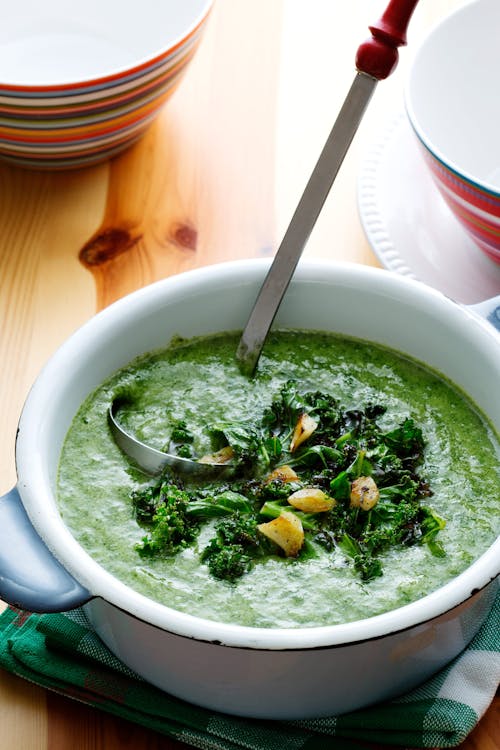
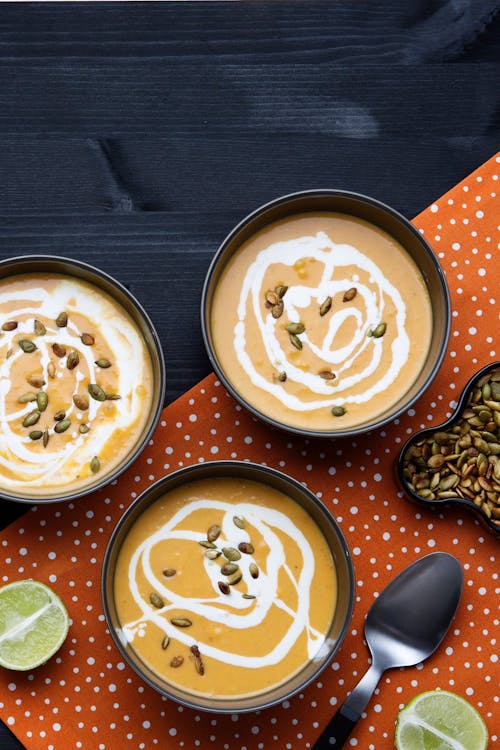
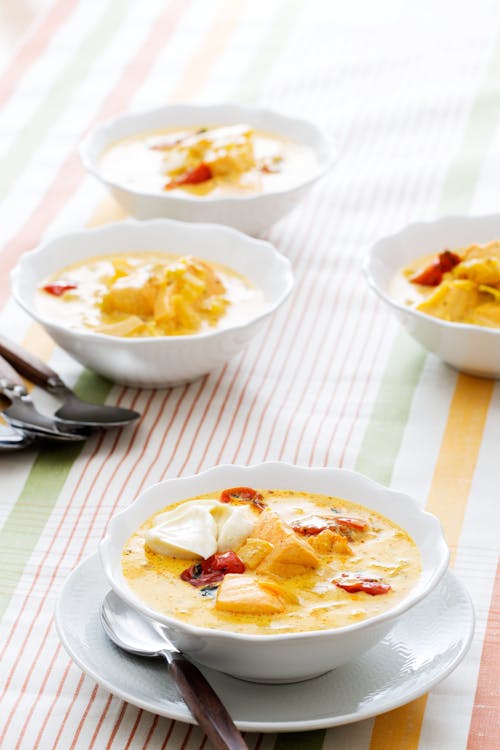
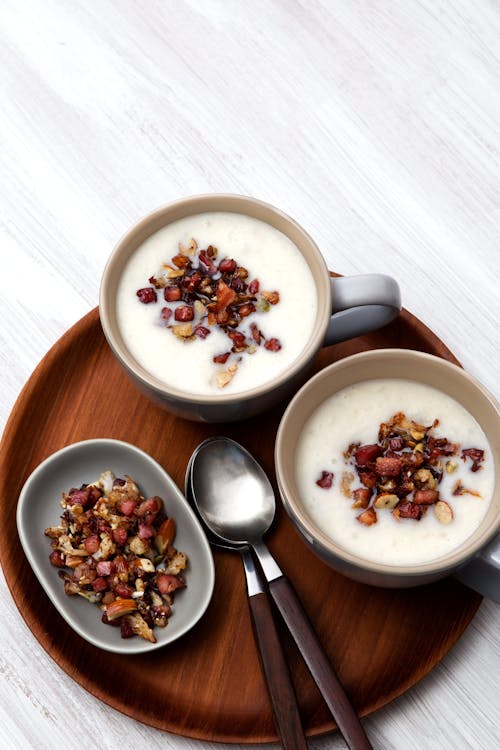
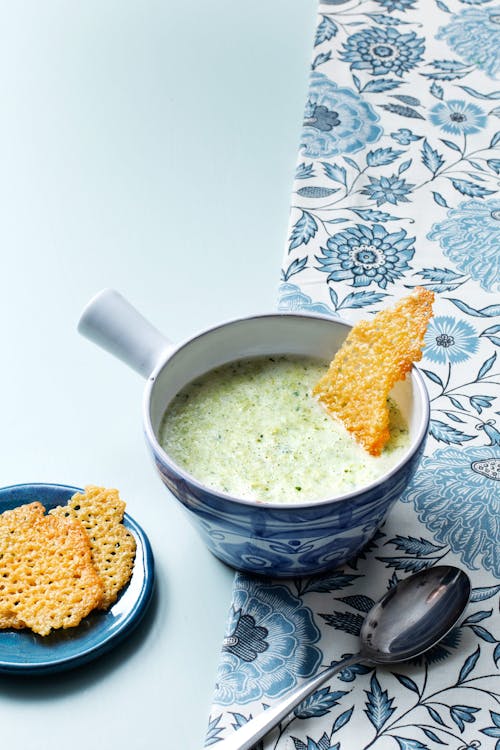
- Soups (and bread)
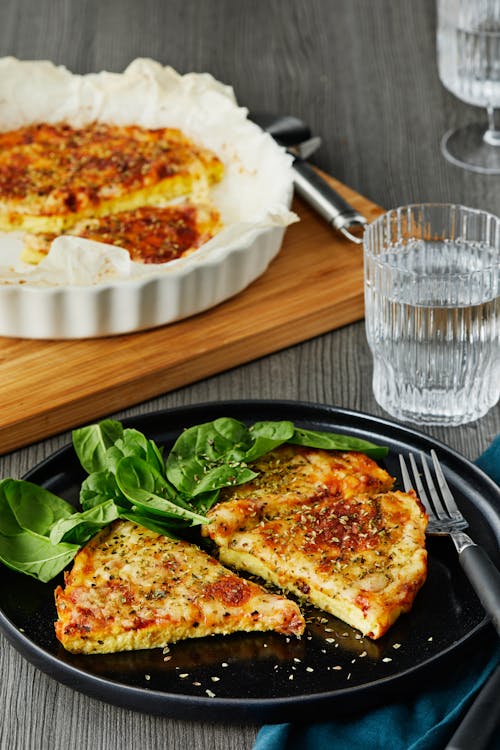
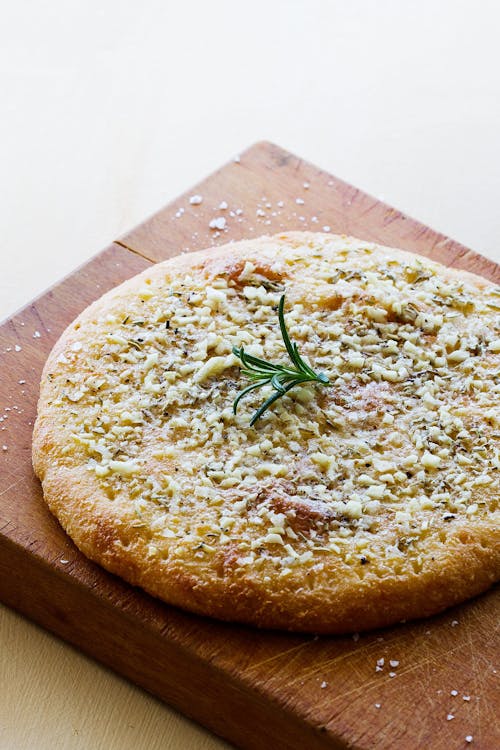
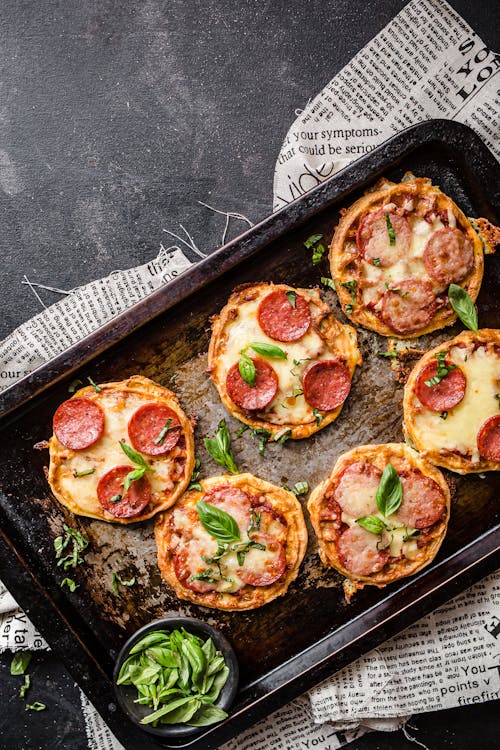
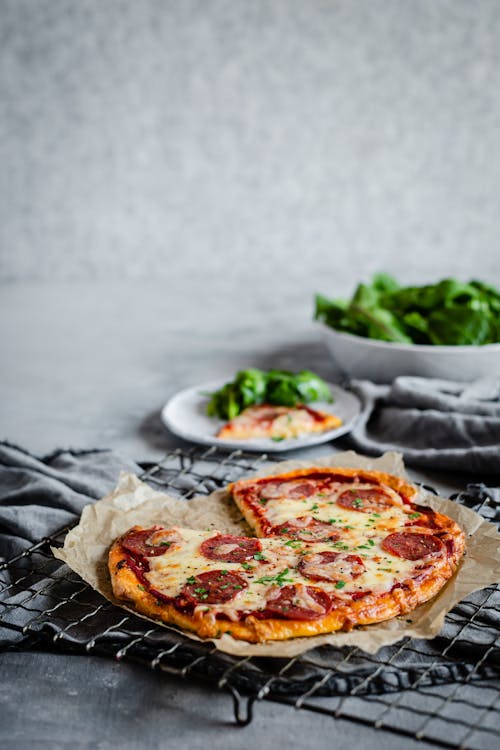
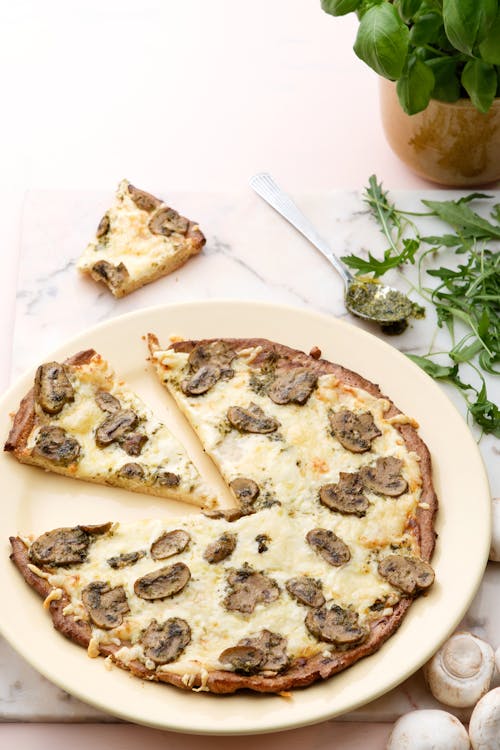
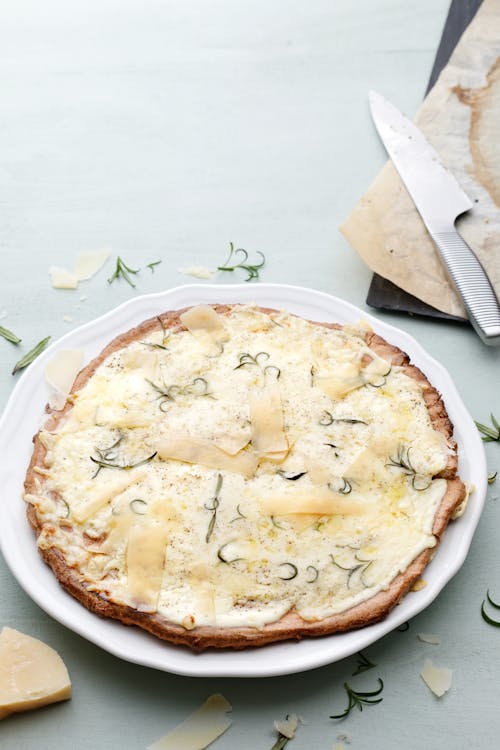
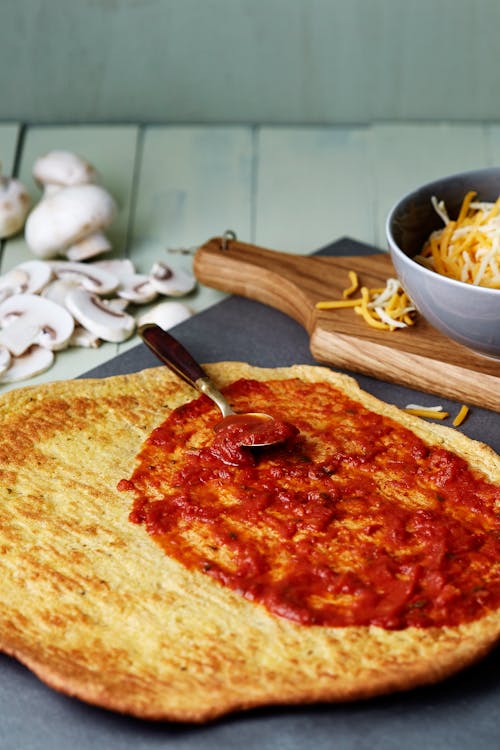
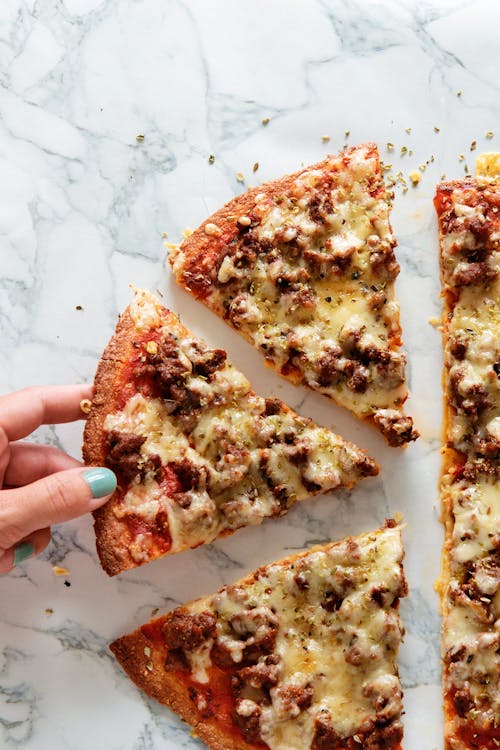
- Pizzas and pizza crusts
- Quiches and frittatas
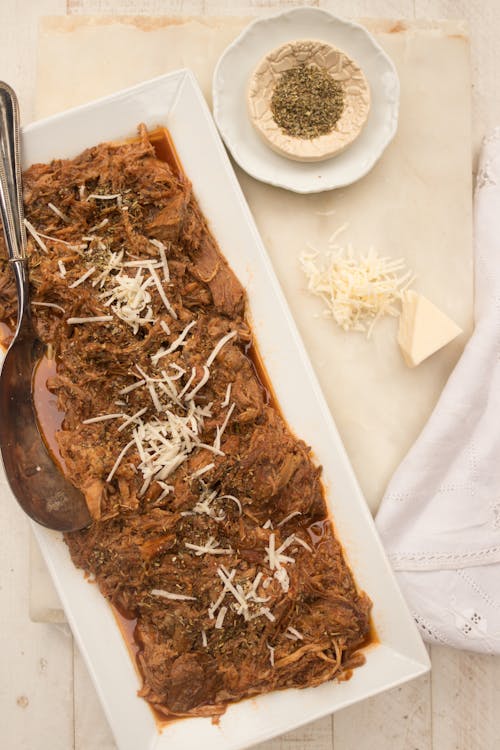
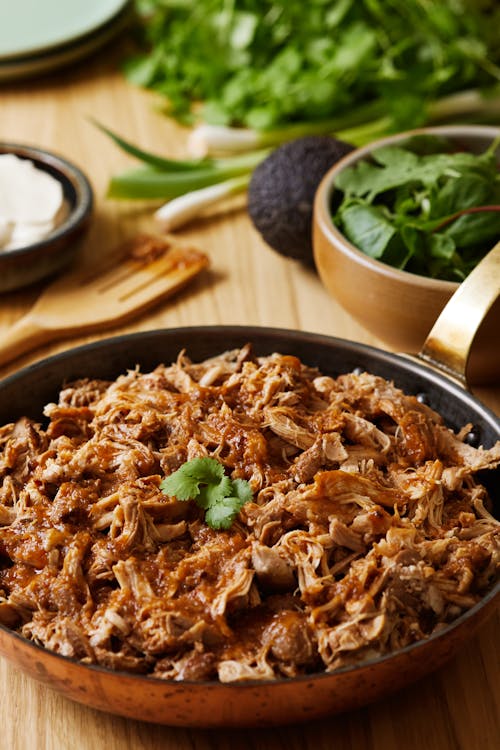
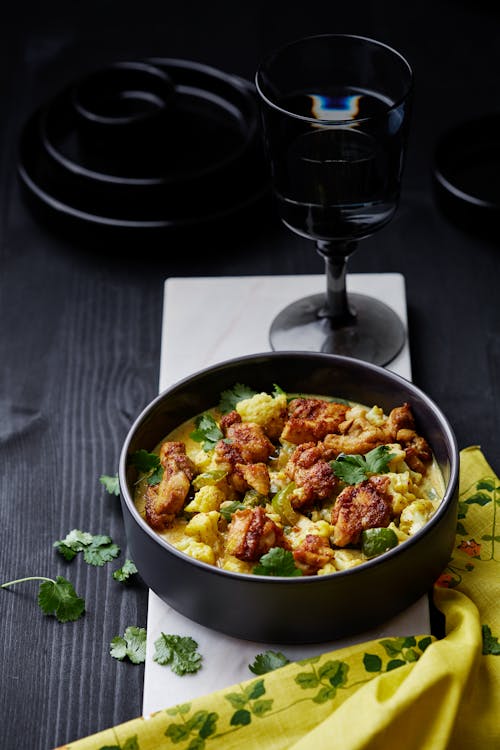
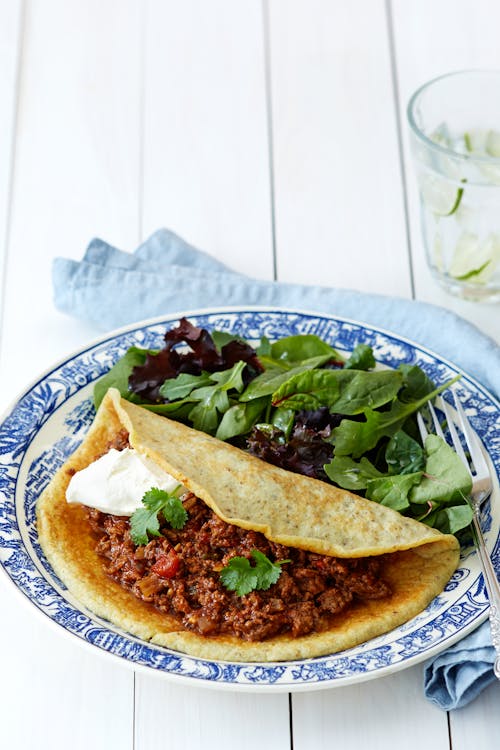
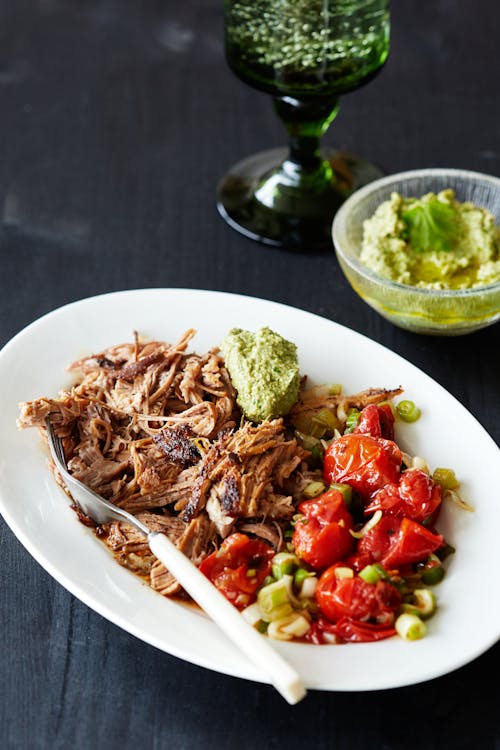
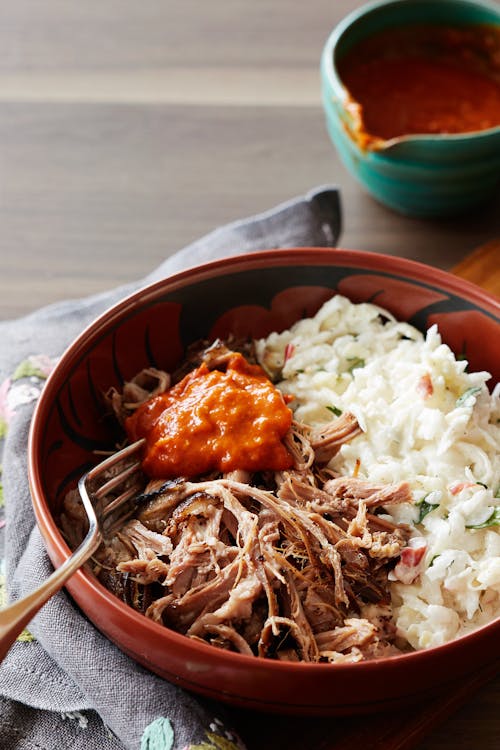
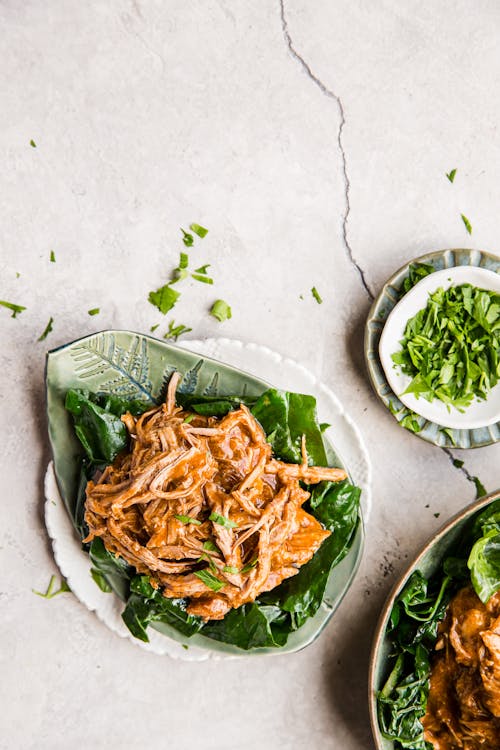
- Prepared meat bases such as chili, pulled pork, Tex Mex or curry
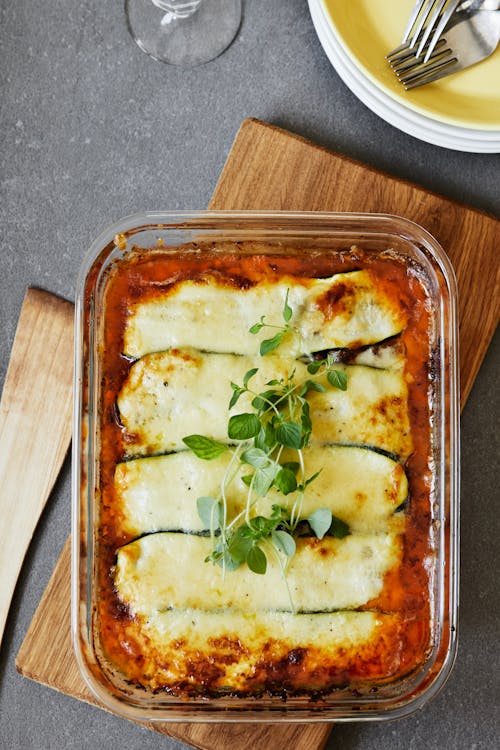
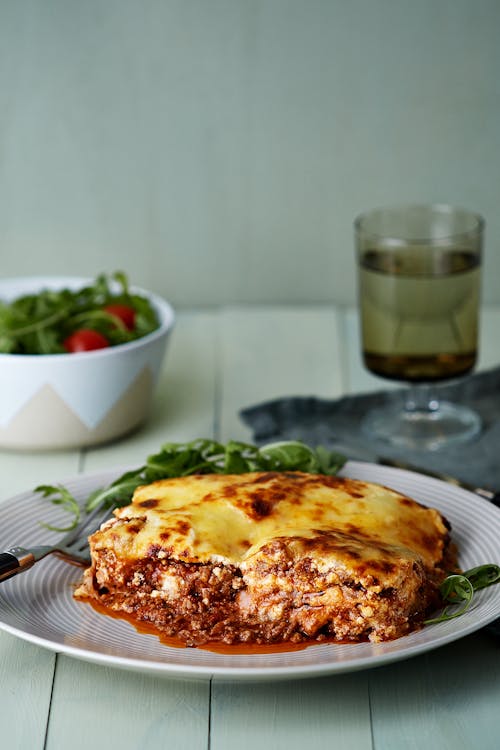
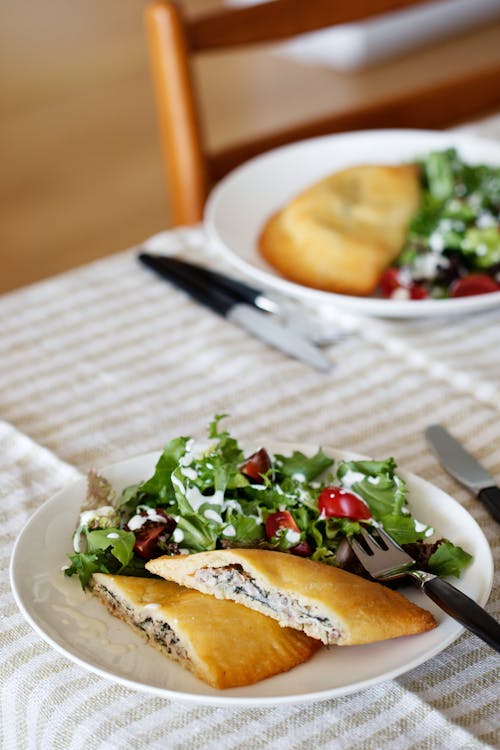
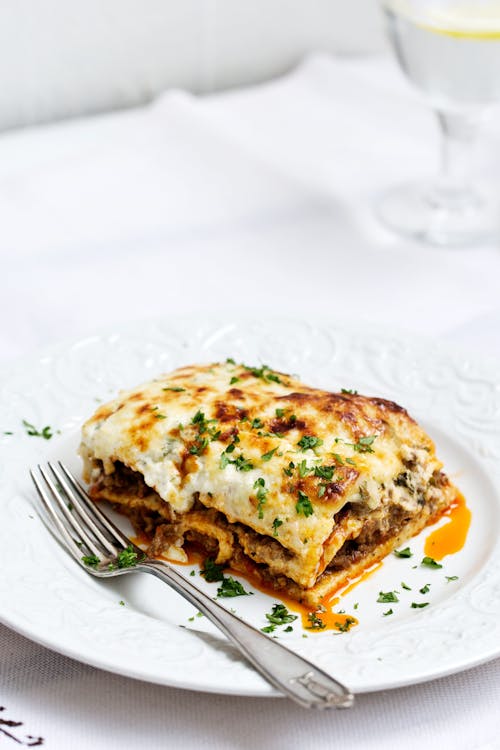
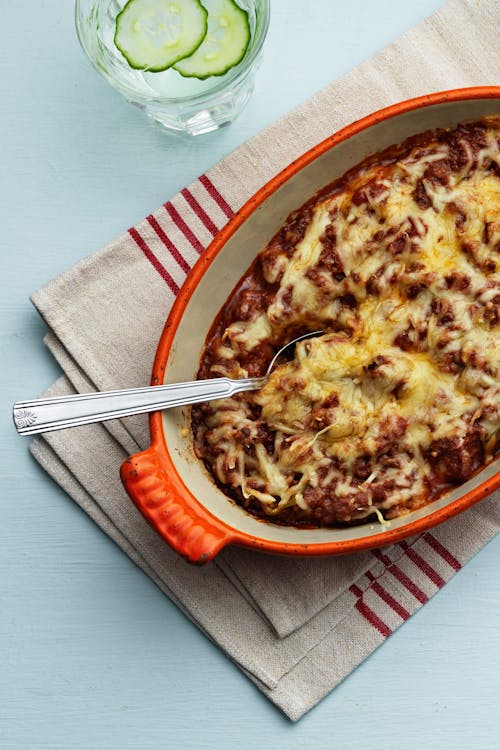
- Meat-pies and lasagnas
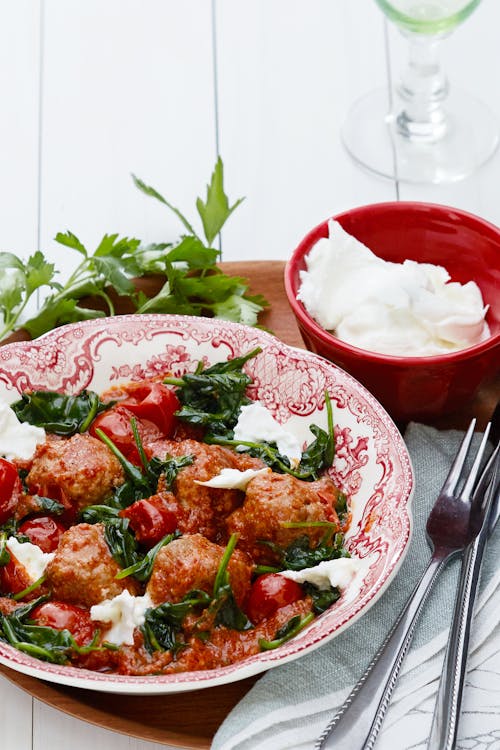
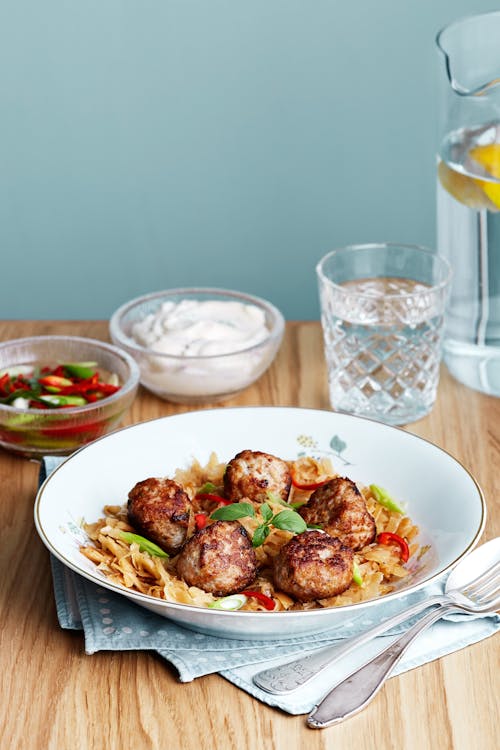
- Meatballs and chicken nuggets
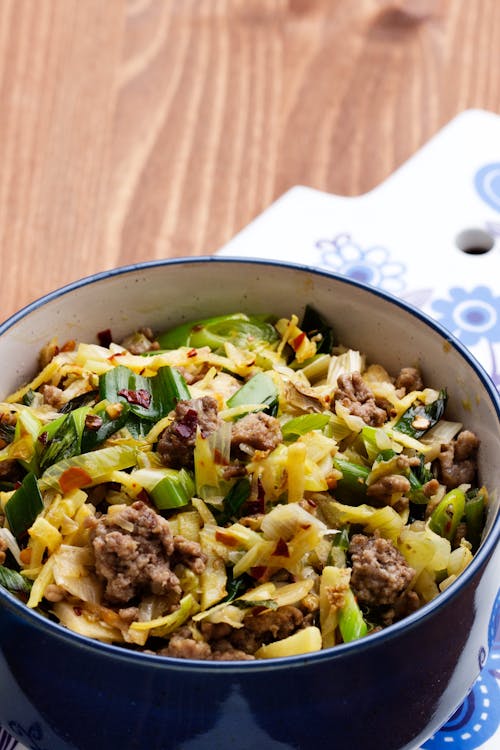
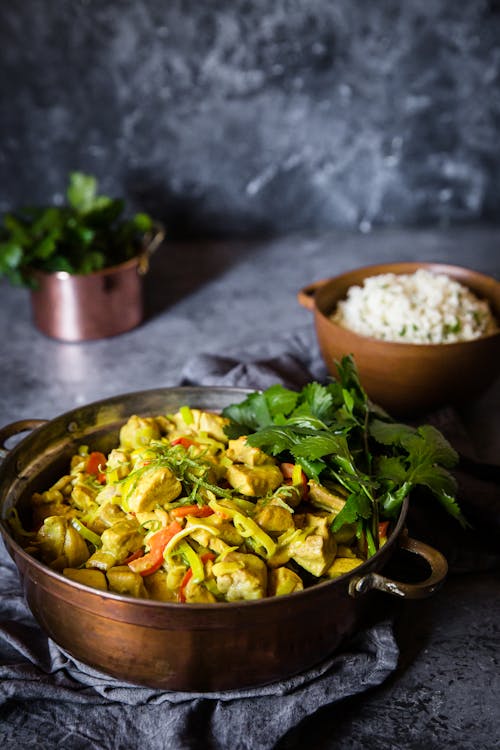
- Asian cabbage stir fry
Lunch and dinner recipes
Freezer-friendly desserts
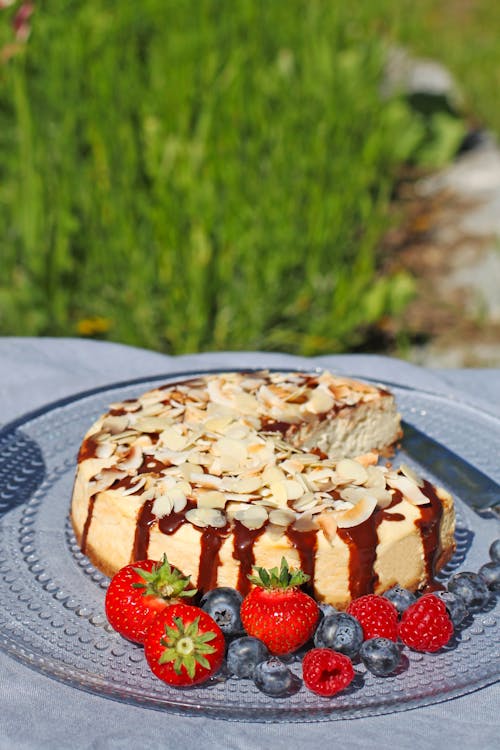
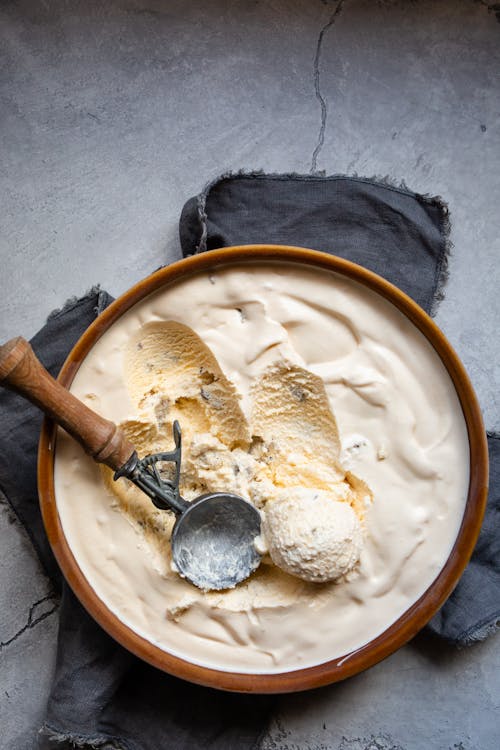
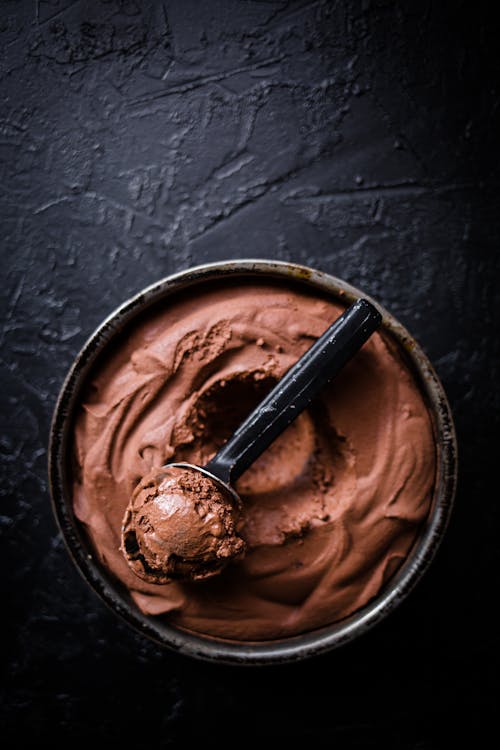
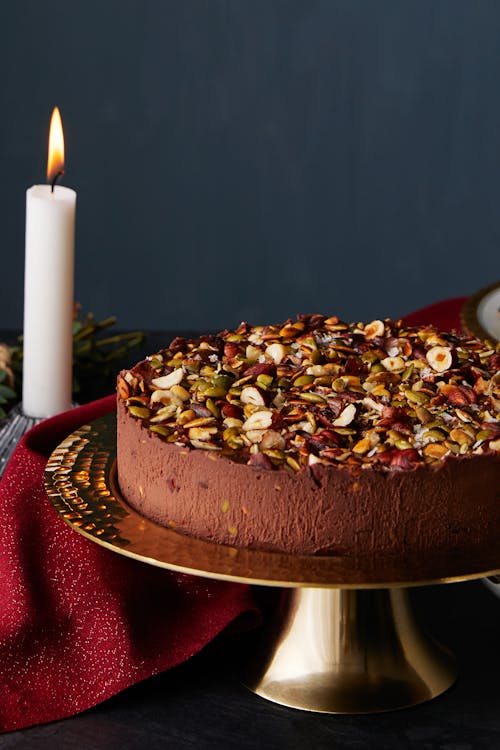
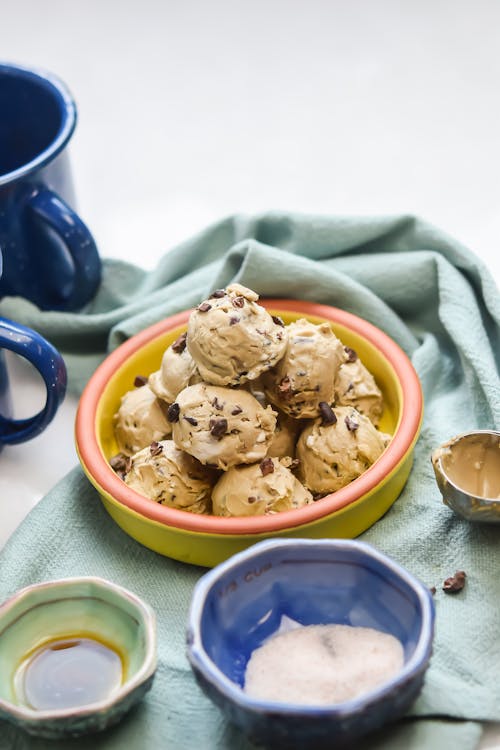
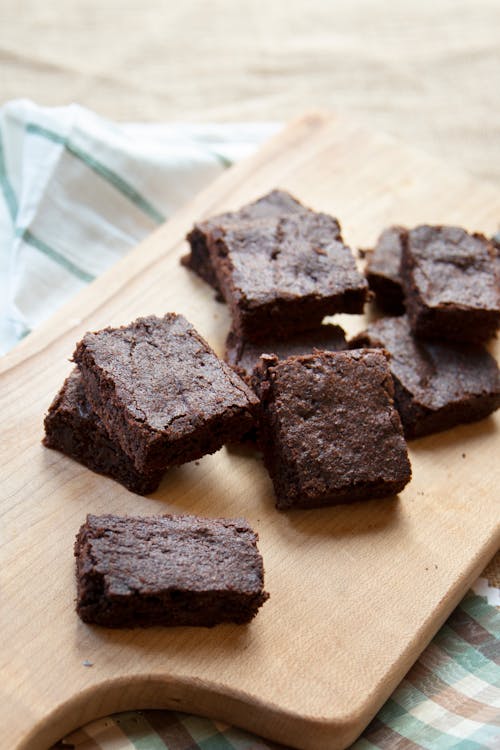
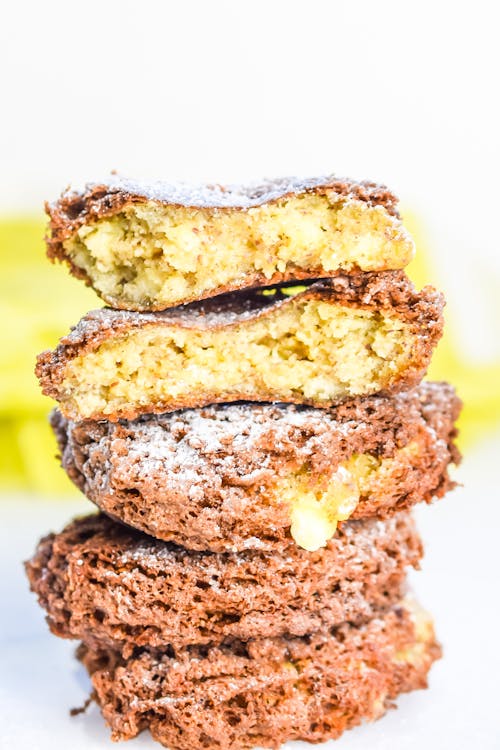
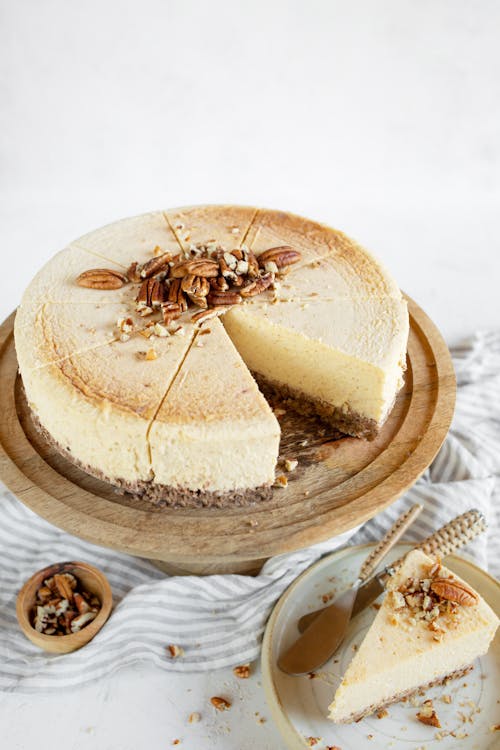
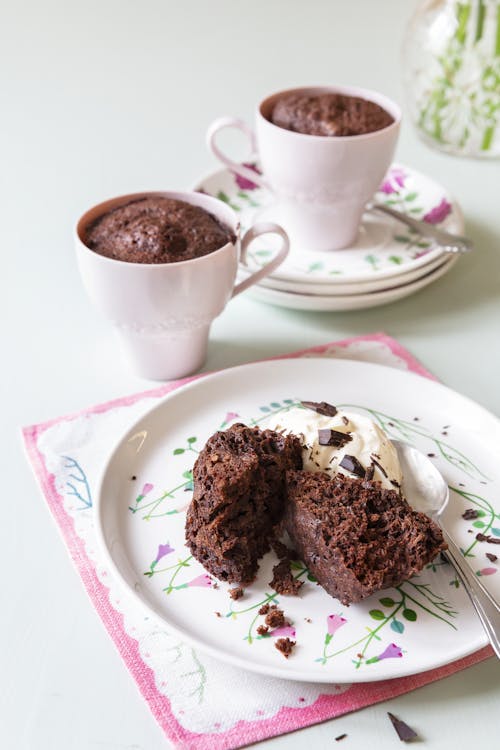
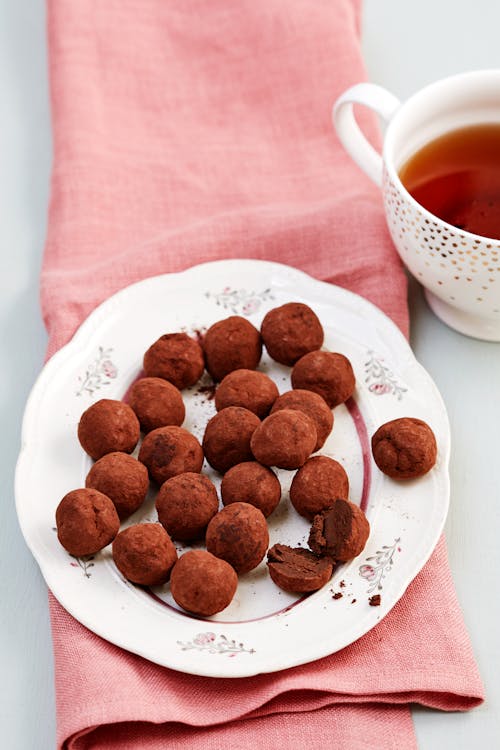
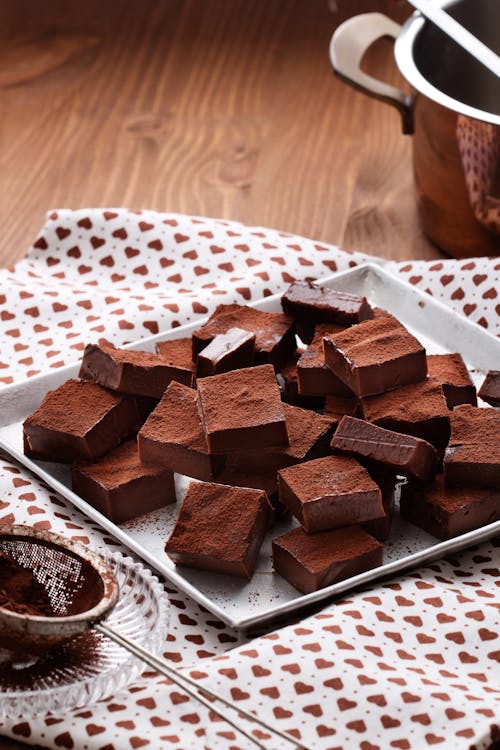
Thankfully many desserts freeze well. Not only can you have success with cakes and ice cream, but smaller items like fat bombs also store well frozen, which means you can make portions to last longer or make them in bigger batches for future treats.
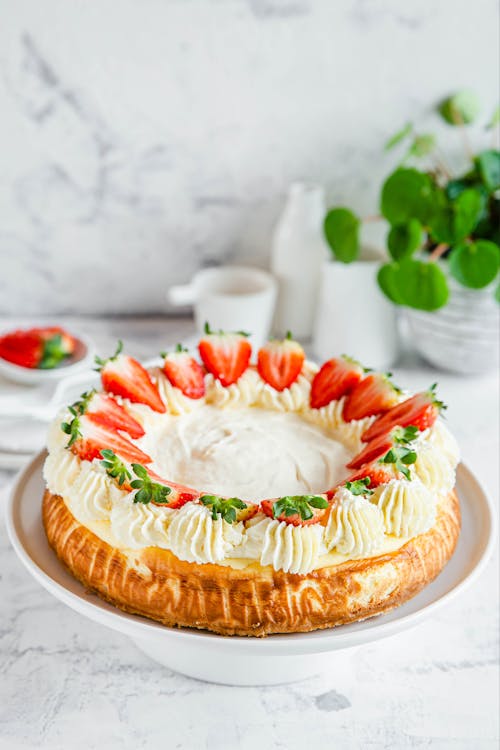
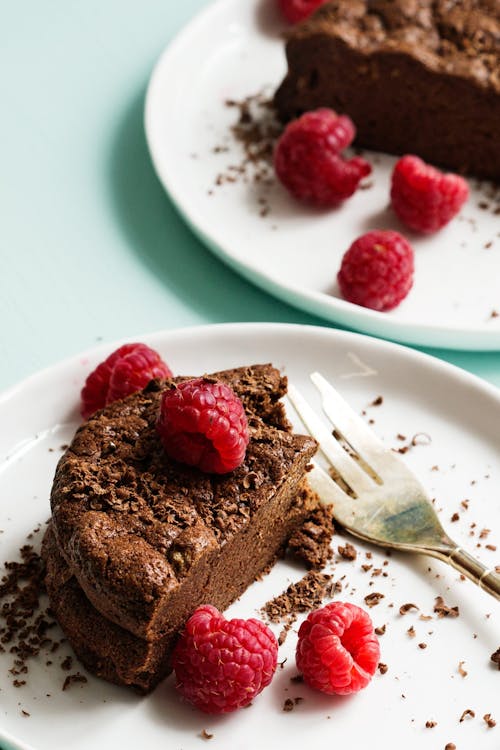
- Cakes
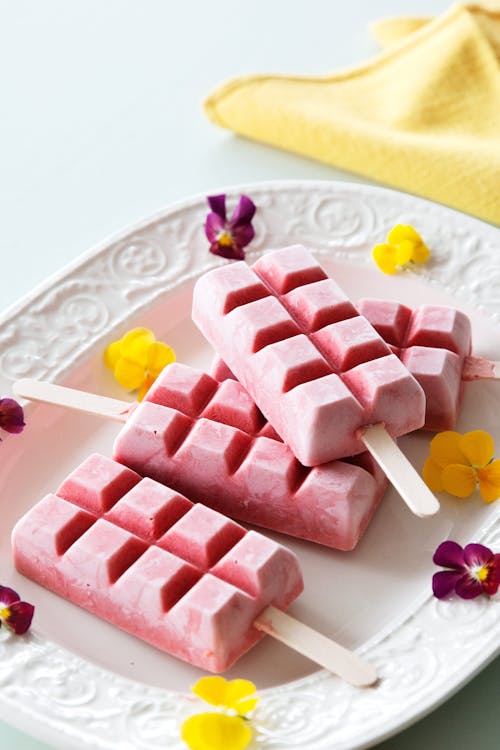
- Ice creams
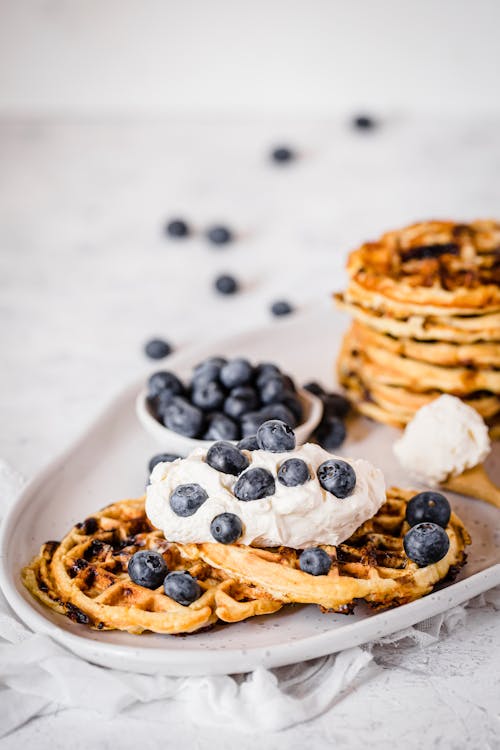
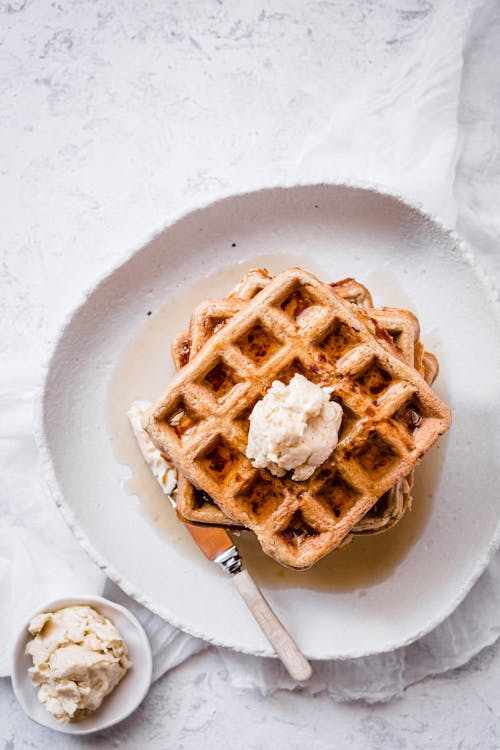
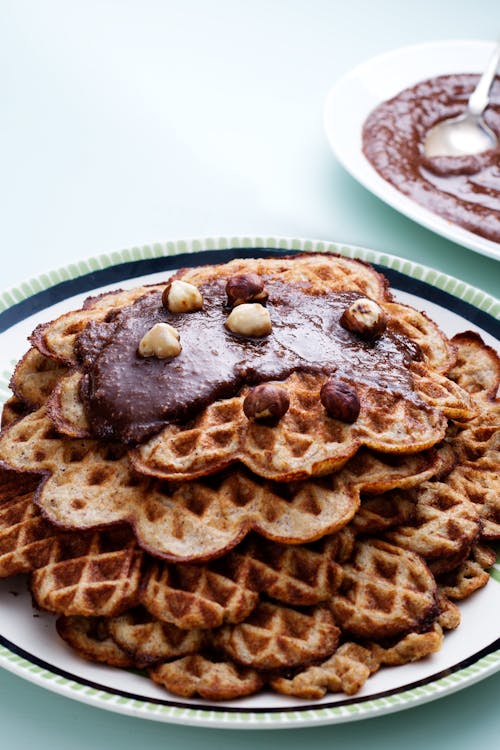
- Waffles
- Pancakes
- Muffins
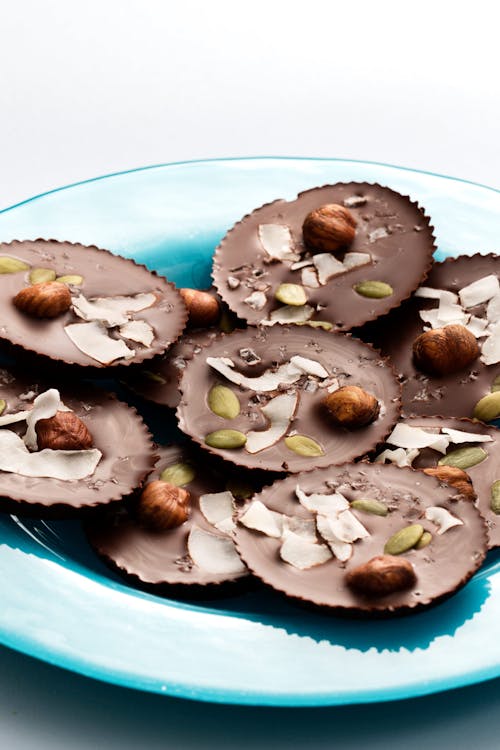
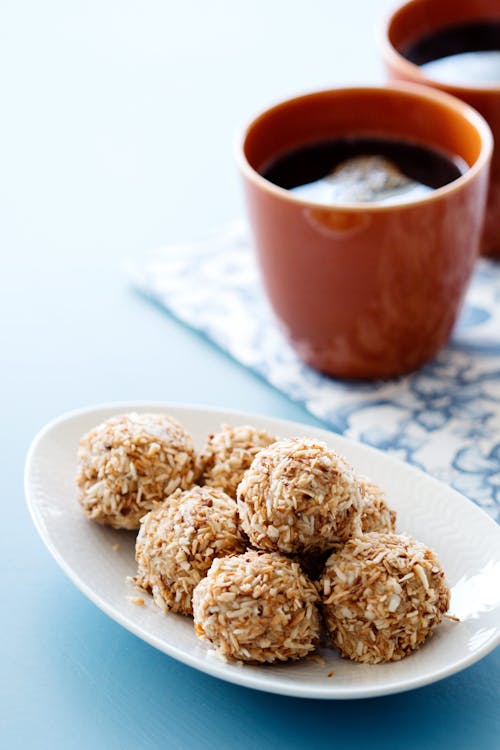
- Fat bombs and truffles
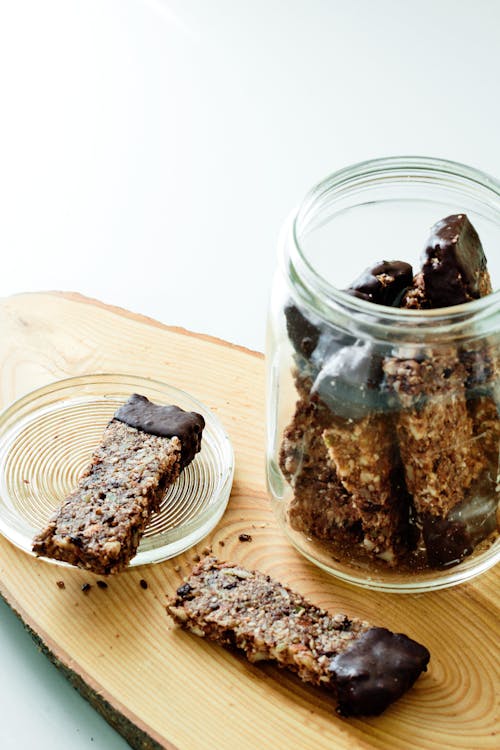
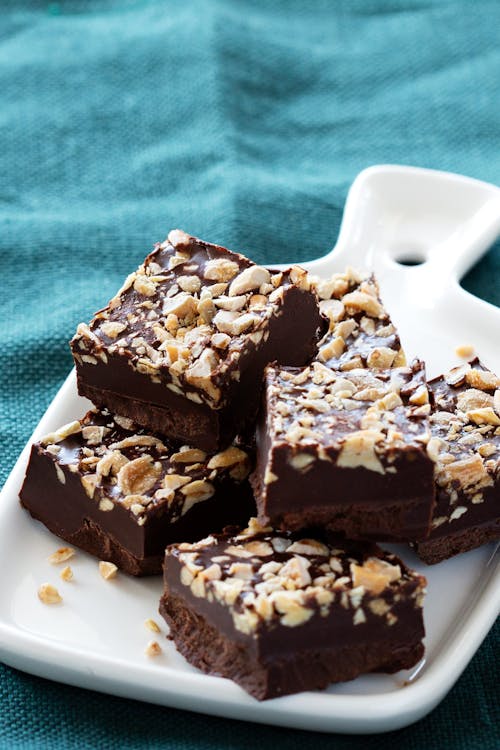
- Crackers and bars
- Berries
Dessert recipes
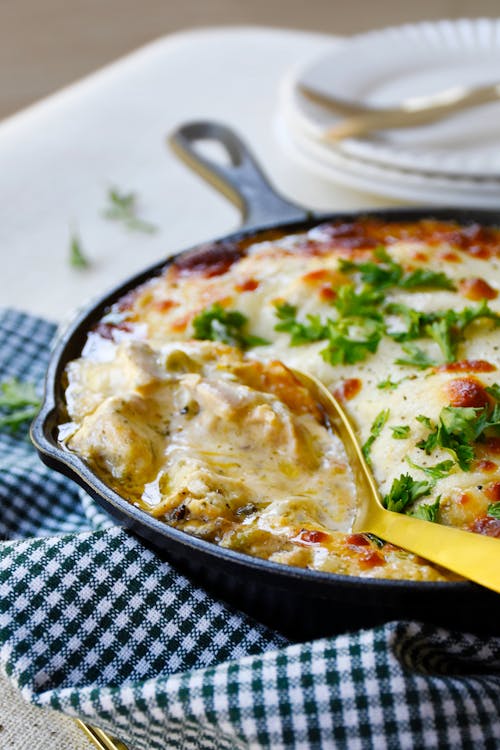
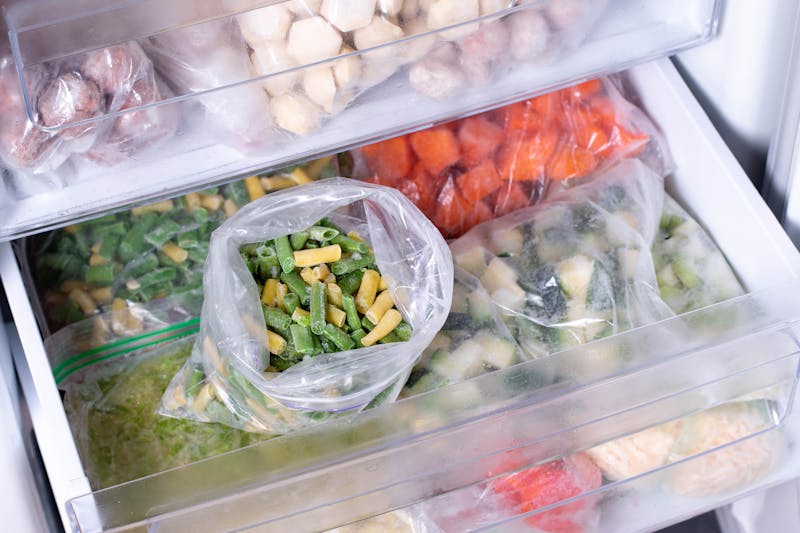
Even perfectly prepared meals can be ruined if not properly packaged for the freezer. Start by selecting freezer-safe containers, taking steps to avoid freezer burn, and consuming foods within an appropriate amount of time. And be sure to let foods cool to room temperature before freezing. There are many dishes that freeze well and make meal prep easy; however, as a rule of thumb, dishes with lots of heavy cream, melted cheese, sour cream, or cream cheese like cream-based soups or casseroles do not freeze well. Dishes that include mayonnaise or salads with mayonnaise in them like chicken salad or tuna salad do not fare well in the freezer. Likewise, fresh, uncooked vegetables with very high water content like lettuce, tomato, and cucumber become a watery pile of mush when thawed. If you don’t have the time to prepare complete meals for freezing, or if you’re lacking a key ingredient in a recipe, then you can always prep ingredients that can be used to quickly prepare a meal. This may not mean you have a complete meal ready to eat from the freezer, but it cuts down on prep time considerably. When properly packaged, frozen foods can last far longer than fresh. Most baked goods can be successfully frozen for up to 2-3 months. Low carb cookies, muffins, and bread can often be frozen successfully for up to six months. Cooked meats, stews, casseroles, and egg-based dishes such as frittatas will keep for at least two months and will likely still be tasty after three months in the freezer. Select containers that are just large enough for the amount of food you are freezing, leaving as little room as possible for pockets of air inside of the containers. Use silicone food storage bags, coated or laminated freezer paper, heavy plastic wraps or bags, or heavy-duty foil to tightly wrap and protect food. The advantage of using flexible containers is that you can smooth the contents flat, making them a dream to stack neatly and to maximize freezer space. You might also use rigid plastic or glass containers designed specifically for freezing. If using glass, leave enough room for the contents to expand slightly when frozen. Also, using wide-mouthed jars makes it easier to remove the contents and means the jar is less likely to break from the pressure of frozen food expanding. Freezer burn is the kiss of death for any frozen food. It’s caused by the food being exposed to air. While freezer burn isn’t harmful, it can affect taste, texture, and color. To avoid freezer burn, make sure that all food packages are airtight and that the food is properly wrapped. Be sure to remove as much air as possible from the container before sealing. After packaging foods be sure to label them with a permanent marker. Include the name of the food or dish and the date that it was frozen. The best way to thaw is to allow thawing to happen at its natural speed at a constant temperature. For food safety, please note that food should not be defrosted in ways that leave it sitting at temperatures between 40 °F and 140 °F (5 °C and 60 °C). This temperature range is known as the “danger zone” and is the ideal temperature for bacteria to multiply rapidly. There are different methods for thawing foods, and these are discussed below. Refrigerator thawing is one of the simplest methods of defrosting food items. The constant cool temperature means the food will be safe and will maintain most of its flavor and texture. This may take up to 24 hours so it’s best to plan ahead of time, such as taking out tomorrow night’s dinner the evening before. An alternative to allowing food to thaw naturally is to use the defrost setting on the microwave oven. This method is significantly quicker than naturally defrosting foods. However, it can take more time to perfect this process. Every microwave is different, and you will need to refer to your microwave oven’s manual to understand the correct settings and times required for the type of meal or food item that you defrost. With microwave thawing, it’s important to cook the defrosted food immediately after. This is because the microwave can partially heat the item in the defrosting process. Coldwater can be a good method of thawing meals that are in sealed packaging. It’s important to ensure that no water enters the frozen food when using this method as it could spoil the food. This method involves filling your sink or a bowl with cold water and submerging the sealed food under the water. The water should be changed approximately every 30 minutes for continual thawing. Once the item has thawed, it should be cooked immediately. Refer to the various methods of heating in the following section. When time does not allow for thawing, it is possible to cook or reheat food directly from frozen. However, this can affect the overall final texture and taste. Note when cooking directly from frozen, the item will require approximately 50% additional cooking time to be fully cooked through. With meals that have been frozen in a liquid base such as soups and stews, run cold water over the outside of the closed storage container. This will allow the food to loosen away from the food container edges and be easily removed for reheating. Heat frozen foods, such as soups and stews, initially on a low temperature to allow for defrosting and prevent burning. Use a lid to provide additional warmth and defrosting and stir frequently. Once the food item is defrosted, the temperature should be increased to the relevant cooking temperature. Once you’ve thawed a package from your luscious freezer loot, you may find that the method you use for heating the food impacts the quality of your freezer meal. While a microwave oven is super convenient and fast, it works best for heating soups, stews, and casseroles–foods with plenty of moisture. Drier meats, especially poultry and fresh can become tough and rubbery when heated in the microwave. A warm skillet or a pot on the stovetop may take a bit longer to reheat foods than the microwave, but it yields foods that are more evenly heated and is especially useful when heating meals without a lot of sauce. Adding a bit of fat, broth, cream, or water can help to yield more tender meats when foods are heated on the stove. If you desire a more crisp exterior on the food you are heating, try using an air fryer. Chicken wings, jalapeño poppers, or frozen pizza slices warm beautifully in an air fryer. Lastly, you might use the oven to reheat bread, muffins, casseroles, or meats. Wrap or cover the item to allow even, thorough heating without drying it out, over-browning, or burning. While using the oven is often the slowest means for heating leftovers, the results are typically very good with slow thorough heating and a fresh taste.
How to prep foods for the freezer
What to avoid freezing?
Freezer-friendly, low carb ingredients
How long can foods be kept frozen?
What containers are best for freezing foods?
How to avoid freezer burn
How to defrost or thaw frozen foods
Microwaving thawing
Coldwater thawing
Cooking without thawing
Various heating methods
